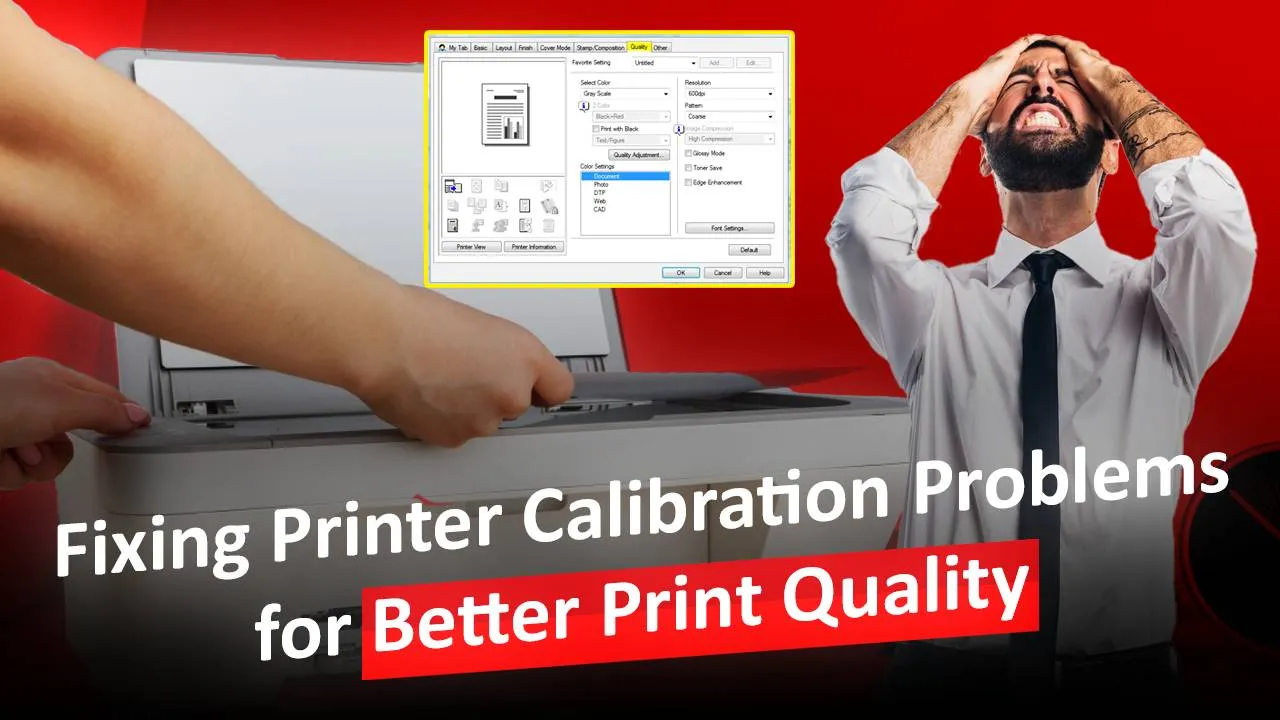
Do you know why sometimes even the most high-quality printers start producing bad-quality prints? Printer calibration problems are a well-known reason for printers producing bad prints. The calibration of a printer plays a crucial role in allowing the printer to produce crisp and high-quality images. Issues like inaccurate colors, blurry images, and uneven text are mostly caused due to printer colour calibration being not done properly. In this blog, we will educate you about the printer calibration. We will also guide you to fix calibration issues on your printer and make sure your printer produces the best quality of prints.
What Are Printer Calibration Problems?
Calibration helps your printer to correctly interpret the color information. It also includes the process of aligning the print heads so that each dot of color is printed in the correct place. When a printer calibration problem occurs, the prints start showing imbalances in color, dull images, and even alignment issues.
Common Results of Printer Calibration Issues
Misaligned or Blurry text- Due to a misalignment of the printhead, characters in the printouts can appear blurry, or sometimes the letters can also be misaligned.
Poor Image Quality- Photos printed on a printer with bad printer color calibration can look bad. The colors might not be properly printed. The image may look grainy or even poorly contrasted.
Color Difference- A calibration issue can result in the printer not being able to print the exact color from the file. They could appear washed out or overly dark.
How to Fix Printer Calibration Problems
Printer calibration is a very delicate thing. You need to be precise while calibrating a printer. If you ask any printer experts, they will never tell you to fix printer calibration problems on your own. Follow the steps as guided in the blog and in the end you can do the printer color calibration yourself and significantly improve the overall quality of your prints.
Run the Printer’s Calibration Tool
Most of the new printers come with a built-in tool for printing calibration. These tools can be used to fix print quality issues on both laser and inkjet printers. Using these tools, you can adjust the colors for the best results and align the printhead too.
Step 1– Open the control panel of your computer and access the printer settings by going to the “Devices & Printers” section.
Step 2– Access the printer settings by going to the “Devices and Printers” section in your computer’s control panel.
Step 3– Find your printer, right-click on it, and then click on “Settings”
Step 3– Click on the Maintenance tab
Step 4– Find Printer Calibration in the maintenance section and click on it.
Step 5– Press “Start” to run the Printer Calibration tool. The automatic calibration tool will calibrate your printer to the best settings.
Step 6– When the printer calibration is done, click on “Print Head Alignment”
Step 7– Start the Print Head alignment process by hitting the “Enter Key”.
Update Printer Drivers
The printer drivers play a very key role in delivering printing information to the printer. If the drivers are outdated, the information can be misinterpreted by the printer. In a lot of cases where users think that calibration issues are causing blurry or bad printouts, it is the printer driver that is at fault.
Step 1– Open the device manager from the control panel of your computer
Step 2– Click on the printer section to expand
Step 3– look for your printer, and double-click on it to manage the printer
Step 4– click on update drivers and the Windows system will automatically start looking for printer updates.
Note– Make sure that the computer is connected to the internet while performing a driver update.
Choose the correct paper Type
Choosing the correct paper is key to getting better printouts. It is very crucial for fixing Printer Calibration Problems too. Learn how to select the best paper type for your printer.
Step 1– use the printer guide to check the paper specifications of the printer model you are using. you can also check the paper specification on the brand’s website
Step 2– Whenever you are switching between different papers, remember to change the settings. For example, Select “Glossy” as the paper type in printer settings when you are using glossy paper
Step 3– After you load a new bunch of papers into the paper tray, run a print test to verify that the printer settings and the paper are aligning properly
Perform Regular Maintenance
Step 1– Using the maintenance function from the printer properties, clean the printhead once every one or two months if you print regularly with your printer.
Note– Do not keep your printer unattended for long as it will dry out the ink. If you have not printed anything for a week, print a page to maintain the ink flow.
Step 2– Using the maintenance menu of your printer, perform regular nozzle checks. It ensures that the ink is properly flowing from the cartridges to the paper sheets.
Step 3– After the cleaning process, run a calibration test to check everything is aligned and calibrated properly.
Understanding the printer calibration problems is key to resolving the issue and getting the best quality printouts from your printer. Following the steps guided in the blog, you can learn how to properly calibrate color printer, align the printhead, and select the appropriate paper settings to get better print quality. If you still get worse-quality prints from your, contact Printer Touch now and let the experts handle the situation.


