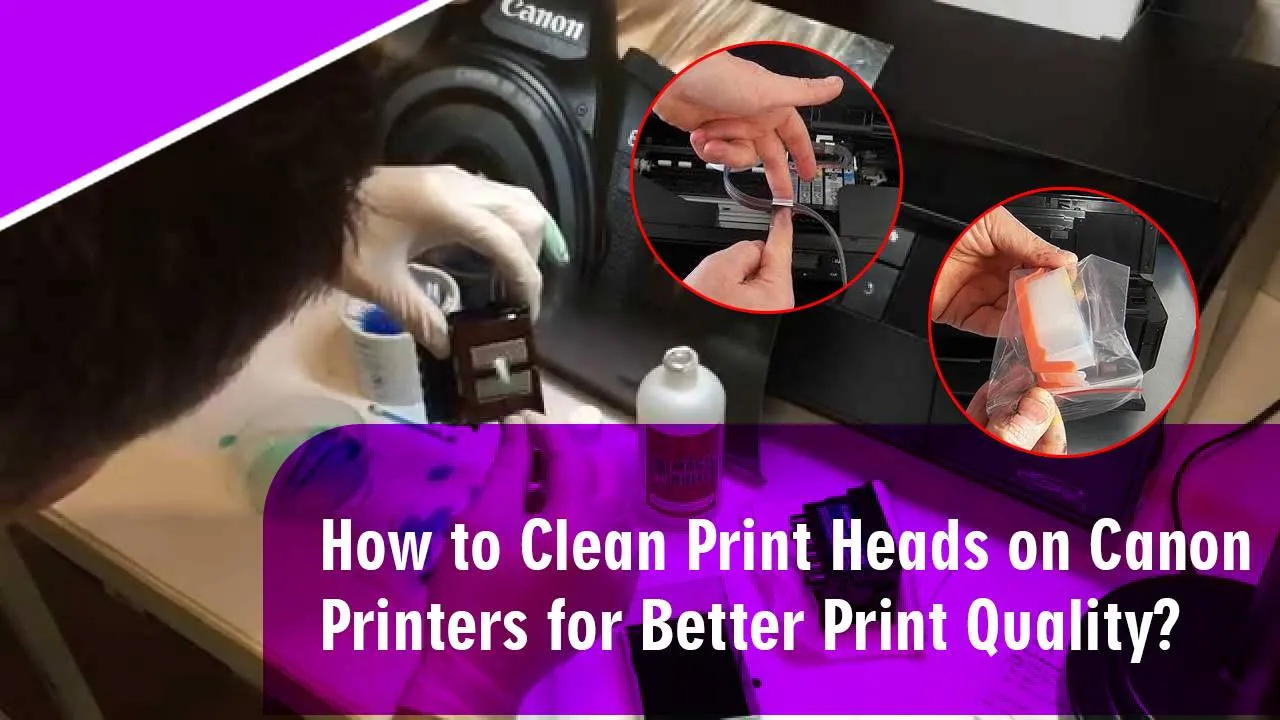
Printheads are part of the printer that transfer colors or data from the ink cartridges of the printer directly to the paper. Sometimes the printhead gets clogged up. In such cases, the printing process is halted. In this blog, we will learn how to clean print heads on a Canon printer. Regular maintenance and cleaning of the printhead are necessary to avoid canon printhead problems. Read the blog carefully and go through each step to find the best Canon print head cleaning solution.
You can clean the Printheads of your Canon printer both automatically and manually. In the automatic process, canon print head removal is not required. In this Step-by-step blog, we will guide you through the whole process of automatic cleaning of the Canon Printhead
How to Clean Print Heads on Canon Printer
- Click on the Windows logo at the bottom of the desktop homepage or press the Windows key on your keyboard. In the search bar that shows up, type “Control panel” and click on the “Control panel” app to open it in a new window
- The control panel menu will open up on the main screen of the computer
- Find the option of “Devices and printer” and click on it once
- Devices settings will open. On this window, click on the arrow sign next to the “printer” to see the list of printing devices connected to the computer
- Select your Canon printer and Right-click on it to open its menu
- Click on “Printer Properties” from the menu of the printer
- A new window will open up where you will be able to see different tabs which can be used to adjust all the different settings of your printer
- Click on the “Maintenance tab” to open the maintenance menu. From this menu, you can easily execute the canon head cleaning by using different types of processes such as “Deep cleaning” and “System Cleaning”
- Click on Cleaning and select the Ink groups you want to clean. If you want to execute the Canon printer cleaning print head just for the black color, select it, or if you want to clean all the colors then choose the “All colors” option and then click on “Execute”
- Automatic canon head cleaning will begin. After the cleaning is done. canon print head problems will be fixed. If the cleaning is not able to fix the problem then you have to execute the “System Cleaning”
- To do the system cleaning, go back to the maintenance menu of the Canon printer and click on “System cleaning”. Here also, you have to select which type of cleaning you want to do. Select all colors and then click on “Execute” to start the cleaning process
- System cleaning of the printhead is the best way to Clean Print Heads on Canon Printer. After the cleaning is done. Restart your printer once and check if the results are good or not.
This blog talks about the best Canon print head cleaning solution to avoid problems related to the printhead. It is very easy to understand this blog and Clean Printheads on Canon printer. Follow each of the steps and you can do it on your own. If you are not able to understand any of the steps, you can call Printer Touch and seek guidance from a printer expert.


