“My Epson printer printing faint documents” is one of the most frequently asked questions by Epson printer users. In this blog, we have listed some of the common reasons for this problem and a step-by-step guide to fix faded printing on Epson
Causes of Faded Printouts
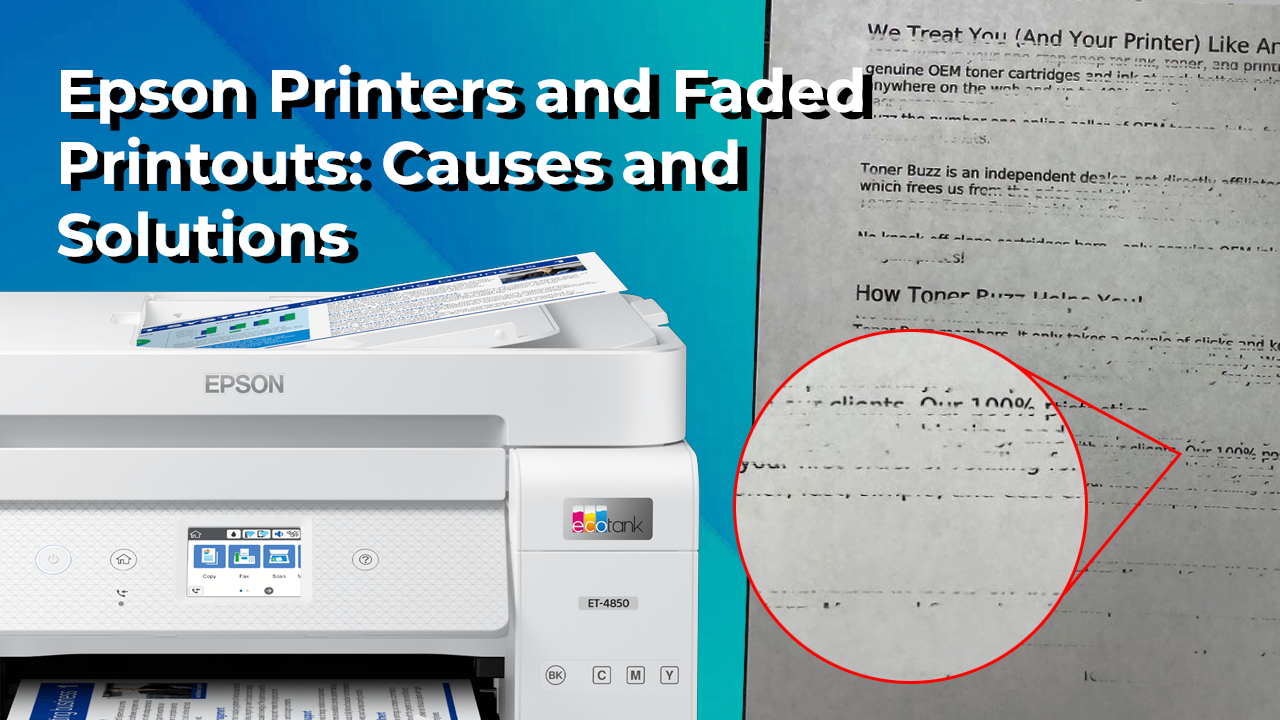
There are various causes of Epson printer quality problems leading to faded printouts. Below is a list of reasons for the issue
- The ink particles might be dried out causing the ink to not flow well resulting in a blockage
- The paper quality being bad is one of the common reasons for faded printouts
- An unclean printhead is another reason for Epson printer faded printouts
- The paper settings might be different from the paper type you are using
- The paper path might not be clean causing faded prints
How to fix faded printing on Epson
Change the Print settings of the Epson printer
Sometimes just changing the print settings can fix faded printing on Epson. Follow the steps below to set the Basic print settings
- Go to the windows explorer and choose any file or picture that you want to print
- Go to the settings and give the command to your printer to print the file
- If required, specify your product name as the printer you intend to use.
- To check your print options, you may need to click Properties or Preferences.
- When you are on the home screen of the printer properties, Choose the Quality Option choice that best suits your print content and desired quality of printing.
- Choose the type of paper that you selected for the Type setting. The setting could differ from your paper type.
- Choose the size of the paper you are using on your Epson printer as the Size option. You may also generate an individual paper format.
- If you’re printing a borderless photo, choose Borderless.
- To print without borders, you must use a matching paper type without borders
- If you’re printing a document or a photo with borders, choose Borders.
- Choose the layout of the file or photo as indicated in the printer settings box.
- Choose any of the available printing options.
- Epson printer quality problem is most likely to get fixed after changing the print settings, if not continue with the troubleshooting
Printhead alignment
When the printhead of the printer is not properly aligned, the quality of the print will suffer. Here is how you can align the printhead and fix faded printing on Epson
- Choose the size of the paper you are using on your Epson printer as the Size option. You may also generate an individual paper format.
- If you’re printing a borderless photo, choose Borderless.
- To print without borders, you must use a matching paper type without borders
- If you’re printing a document or a photo with borders, choose Borders.
- Choose the layout of the file or photo as indicated in the printer settings box.
- Choose any of the available printing options.
- Place a couple of sheets of empty paper into the printer’s paper tray.
- To fix faded printing on Epson, navigate to the taskbar of the Windows computer or click the Windows button to enter the Windows control panel.
- Next, navigate to Hardware and Sound.
- Click on the device and printer choice.
- To open the printer preferences, right-click on the Epson printer and then select “Printing Preferences”.
- Click on the maintenance
- When on the maintenance menu, click on the “Printhead alignment” option.
- To print your alignment scheme, click “Next” and then “Print”. Check the produced pattern and choose the number that’s closest to the desired pattern for each pair.
- After you’ve selected every pattern number, hit Next. If neither of the patterns in question matches any of the sets of patterns, choose which is the closest one to each and click on the Realignment option.
- Print and check another alignment sheet.
- Click the Finish button to finish the realignment
Replace the ink cartridges of your Epson Printer
If the Epson printer quality problem is not fixed by cleaning the printhead of the printer, the last step to fix the issue is to replace the ink cartridges installed on your Epson Printer. Follow the steps below to successfully replace the cartridges and fix faded printing on Epson.
- To stop our printer, simply press the “Stop” button once.
- Disconnect the printer from the power wall when it has stopped.
- The print head shifts a cartridge to the indication position if it is low on ink or spent. To search for further low or exhausted cartridges, press the stop button once more. Upon identification of every cartridge, the print head advances to the replacement position.
- To remove the cartridge, raise it straight up and squeeze the tab.
- To purchase new cartridges, you can go to the Epson Online Shop and then enter your printer model to get the best ink cartridges compatible with your printer
- Shake the fresh cartridge package four or five times lightly before opening it.
- After unwrapping the packaging, do not jiggle the cartridges as this might cause an ink leak.
- Take the cartridge out of its packaging.
- Keep your hands off the cartridge’s tiny window and green chip. After removing the old cartridge, insert the new one right away. If you don’t, the print head might dry out and become unusable for printing.
- From the side of the cartridge, remove the yellow tape.
- Otherwise, the ink will spill. Do not remove any additional labels or seals.
- When the fresh cartridge snaps into place, insert it into the holder and press down.
- Hit the stop/back button. The printer begins charging the ink as soon as the print head returns to its home position. It takes around fifteen minutes to complete. The ink has finished charging when the power light stops blinking and stays on.
- You will waste ink if you turn off the product while the power light is blinking.
- An incorrectly placed ink cartridge may be the cause of an ink light remaining on after the print head returns to its home position or a flashing power light three minutes after a new cartridge is installed. When the ink cartridge snaps into position, press down on it after pressing the stop button.
- After the cartridges have been correctly installed, print a file to check if the Epson printer quality problem is fixed or not
Through this blog, we have made it very easy to fix faded printing on Epson. You can contact Printer Touch now and get the issue fixed if you are unable to fix the Epson printer quality problem