Brother printers usually are known for their reliance and better connectivity but it is common to get Brother HL series printer connectivity problems if you are using an HL series printer from Brother. In this blog, we will look through this issue and provide step-by-step solutions for Brother HL 12340d series Wi-Fi setup. You can use the same step to connect any Brother HL series to Wi-Fi.
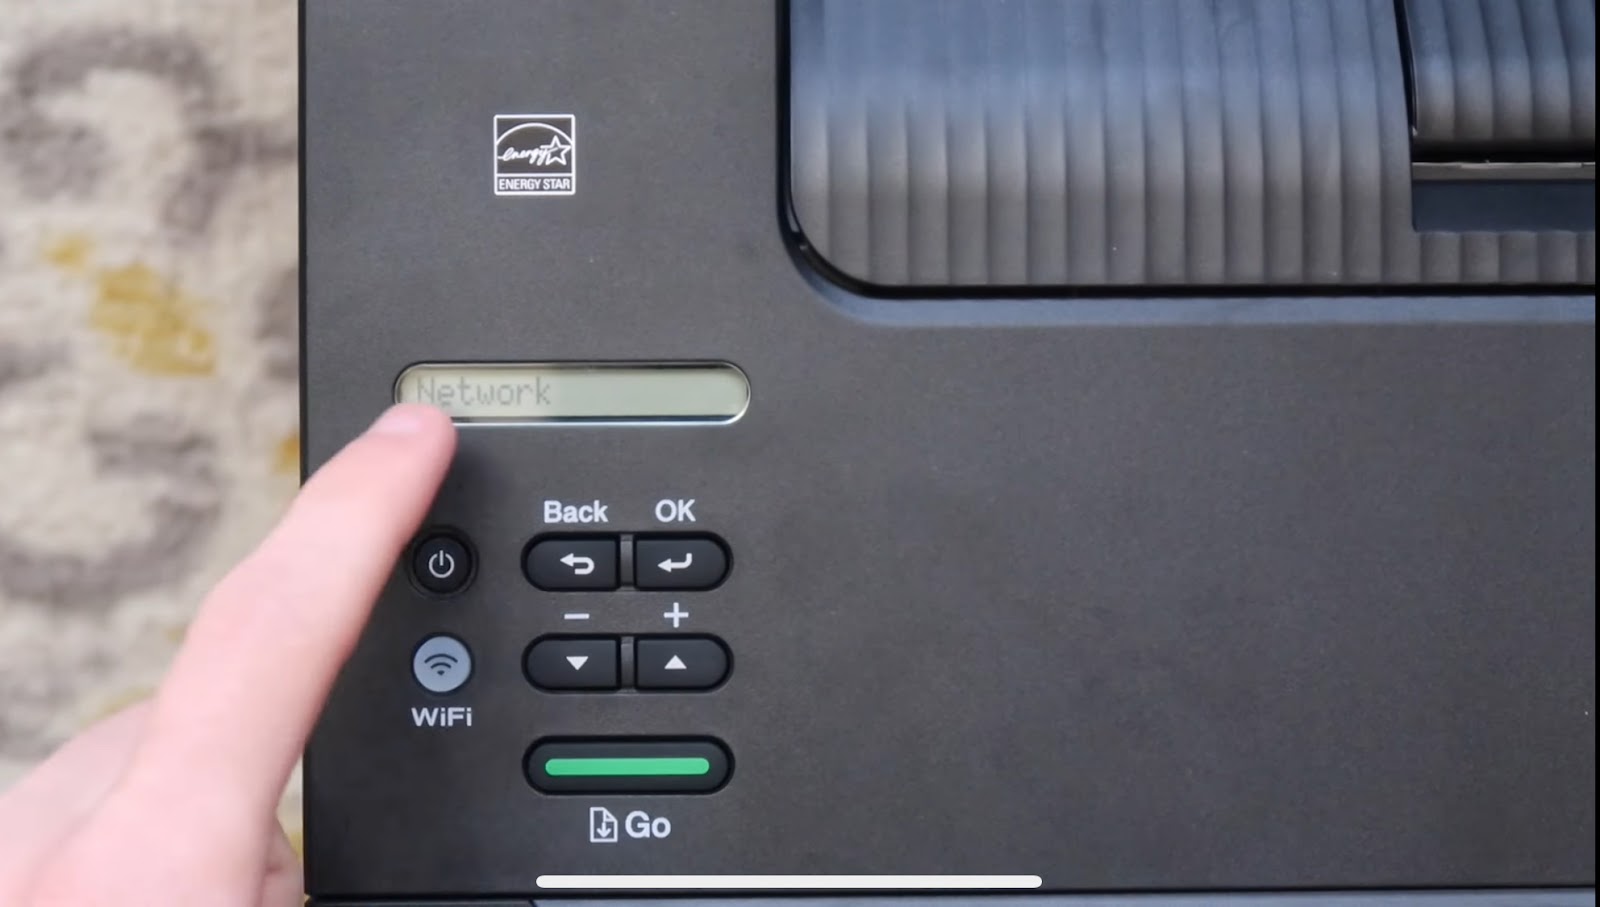
Step 1– From the printer menu, go to the network option.
Step 2– For Wireless setup, choose the WLAN option.
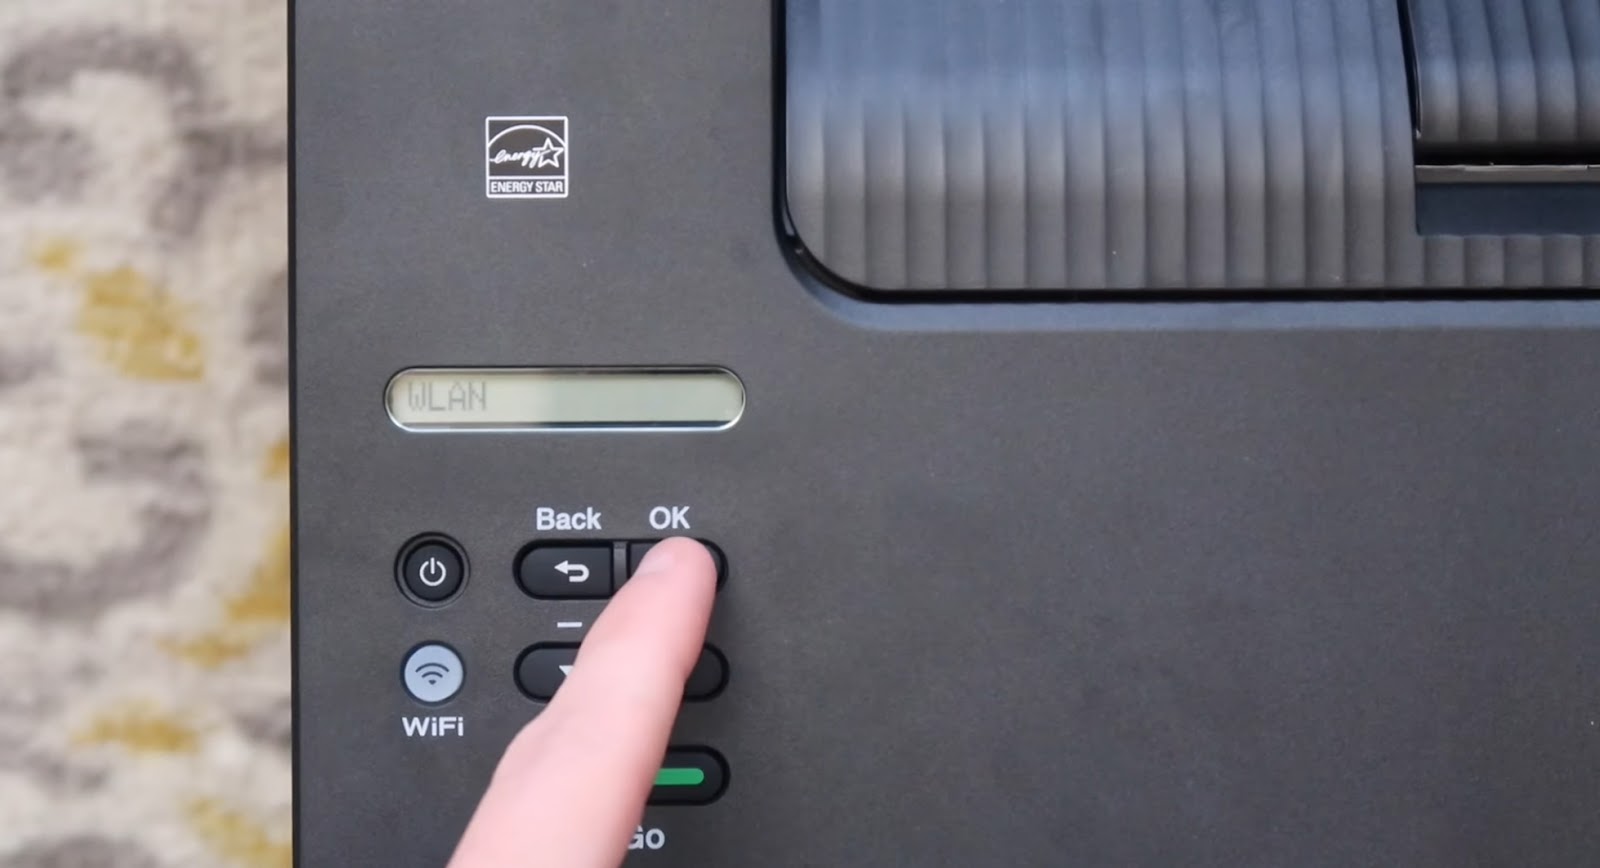
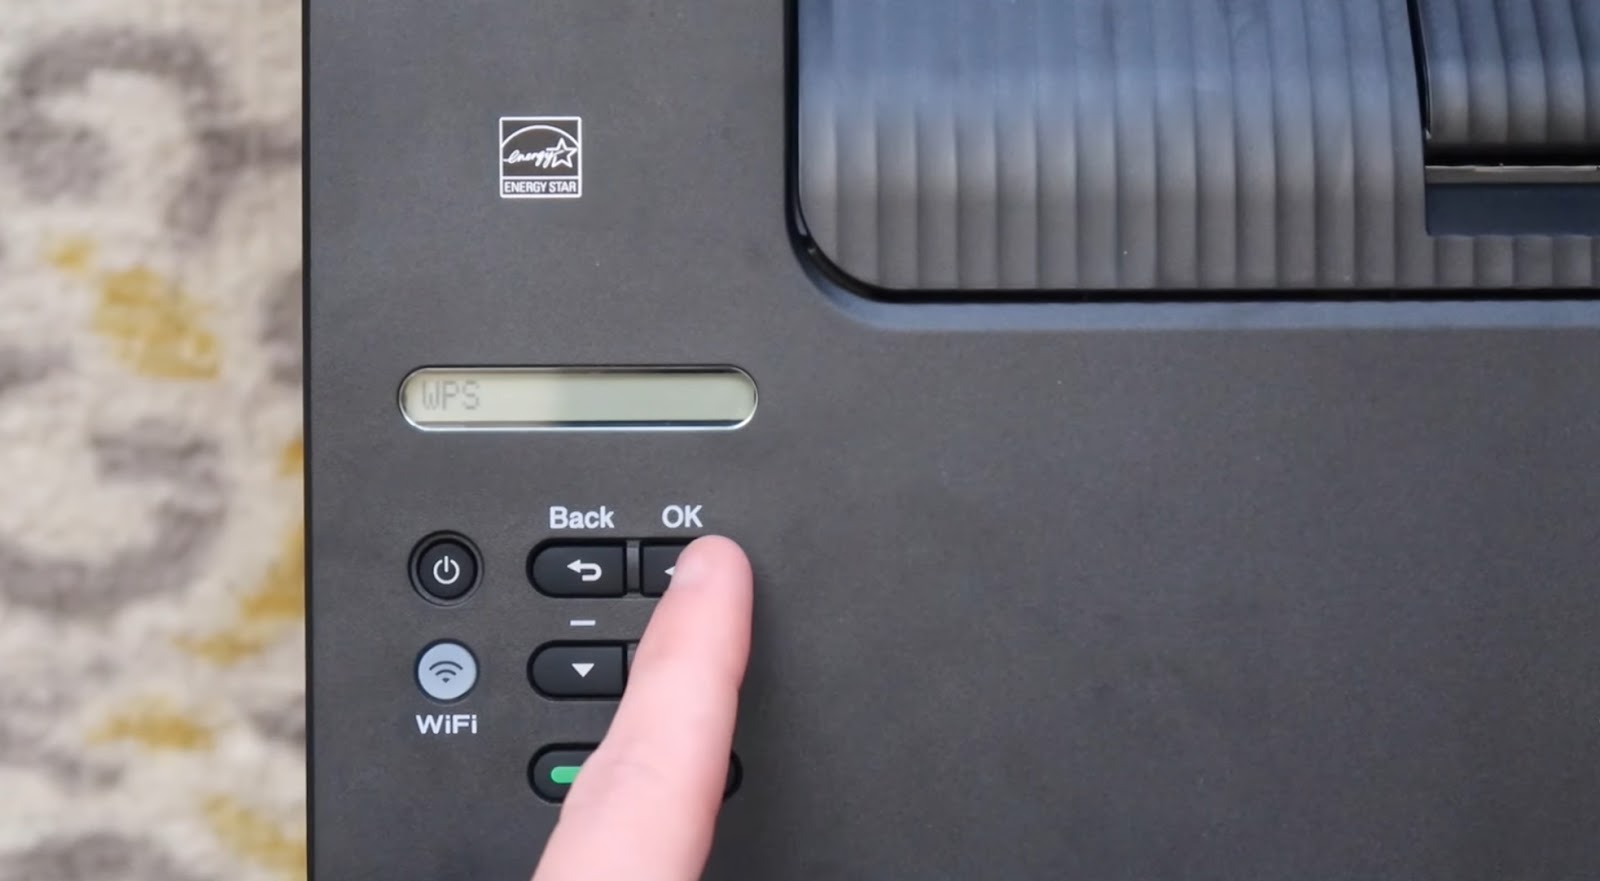
Step 3– WPS is the easiest method for Brother HL 1210w series to connect to wifi. Navigate to the WPS option and then press the OK key to confirm.
Step 4– Press the + button to enable WPS on your Brother printer.
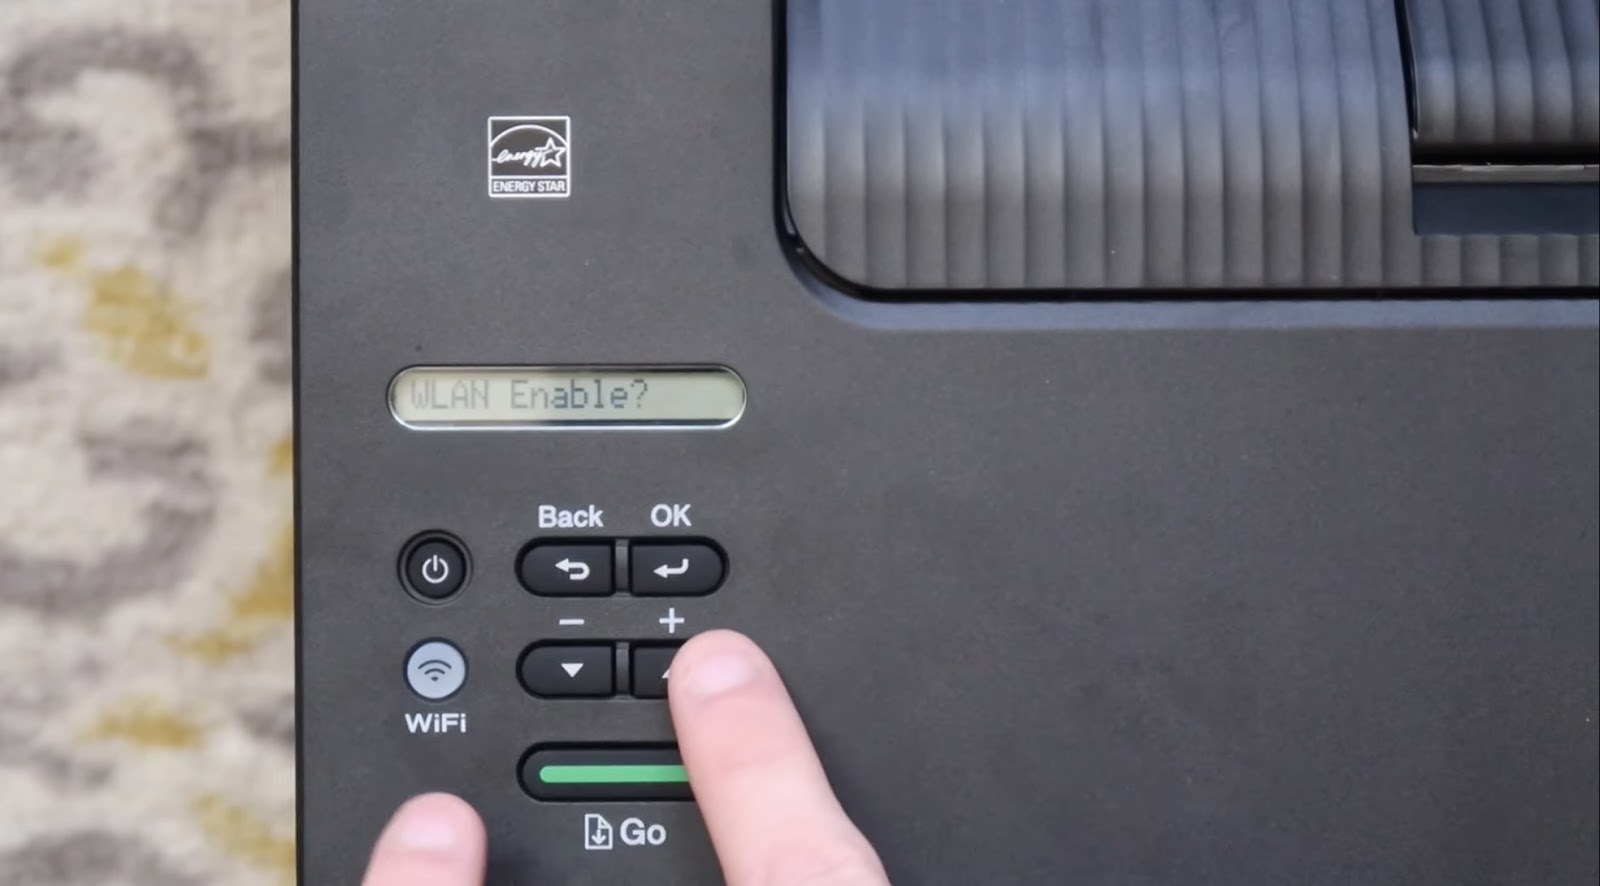
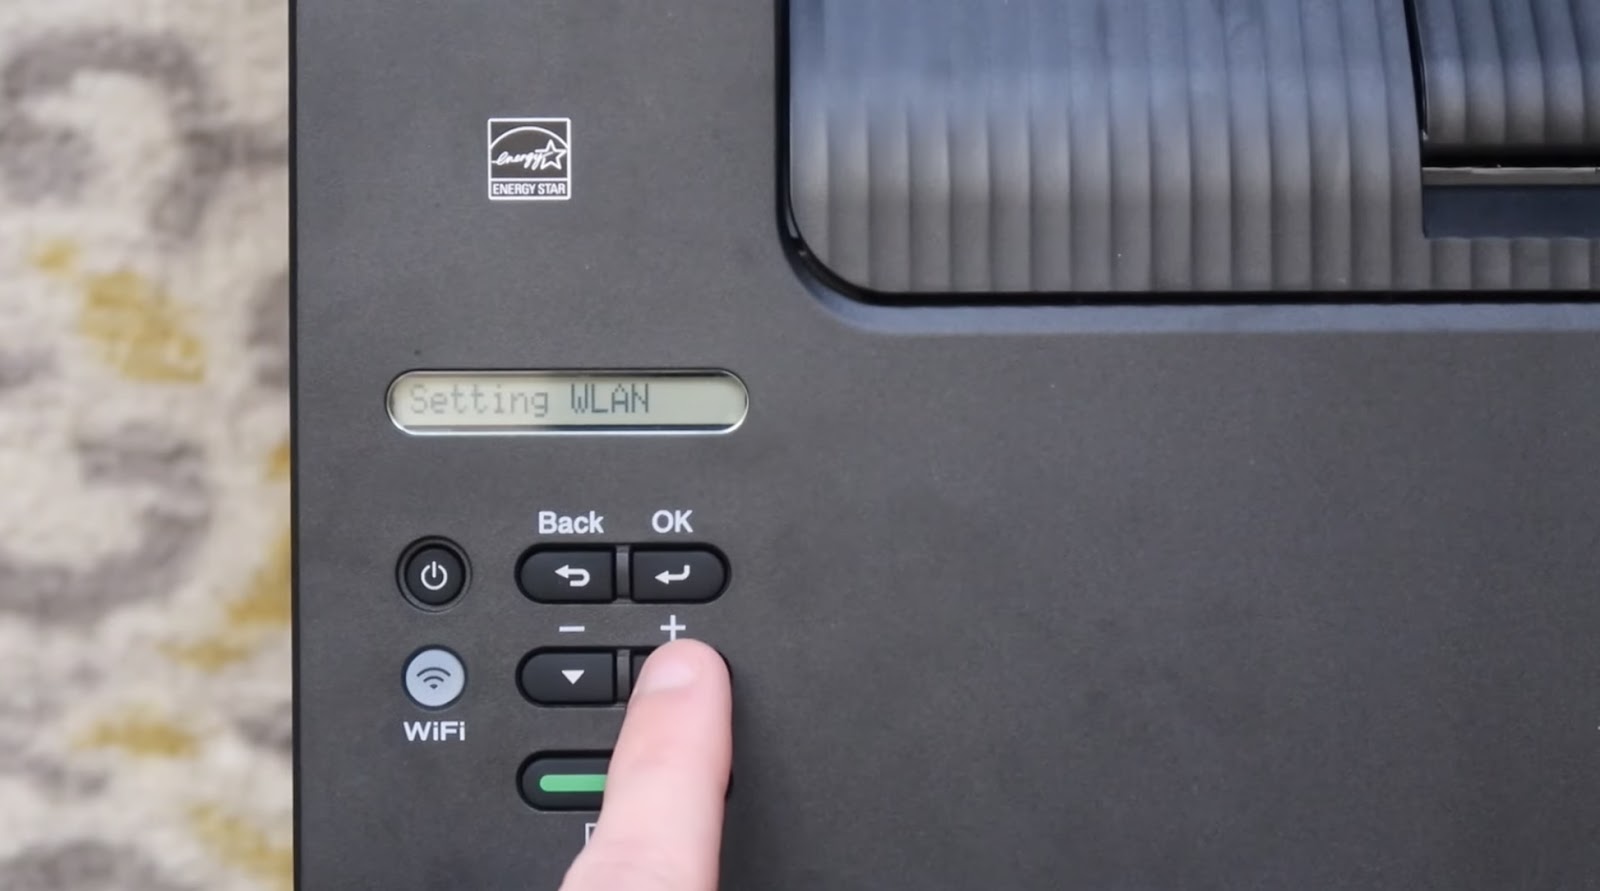
Step 5– To move forward and start the secure WPS connection, press the “+” button as shown in the image below.
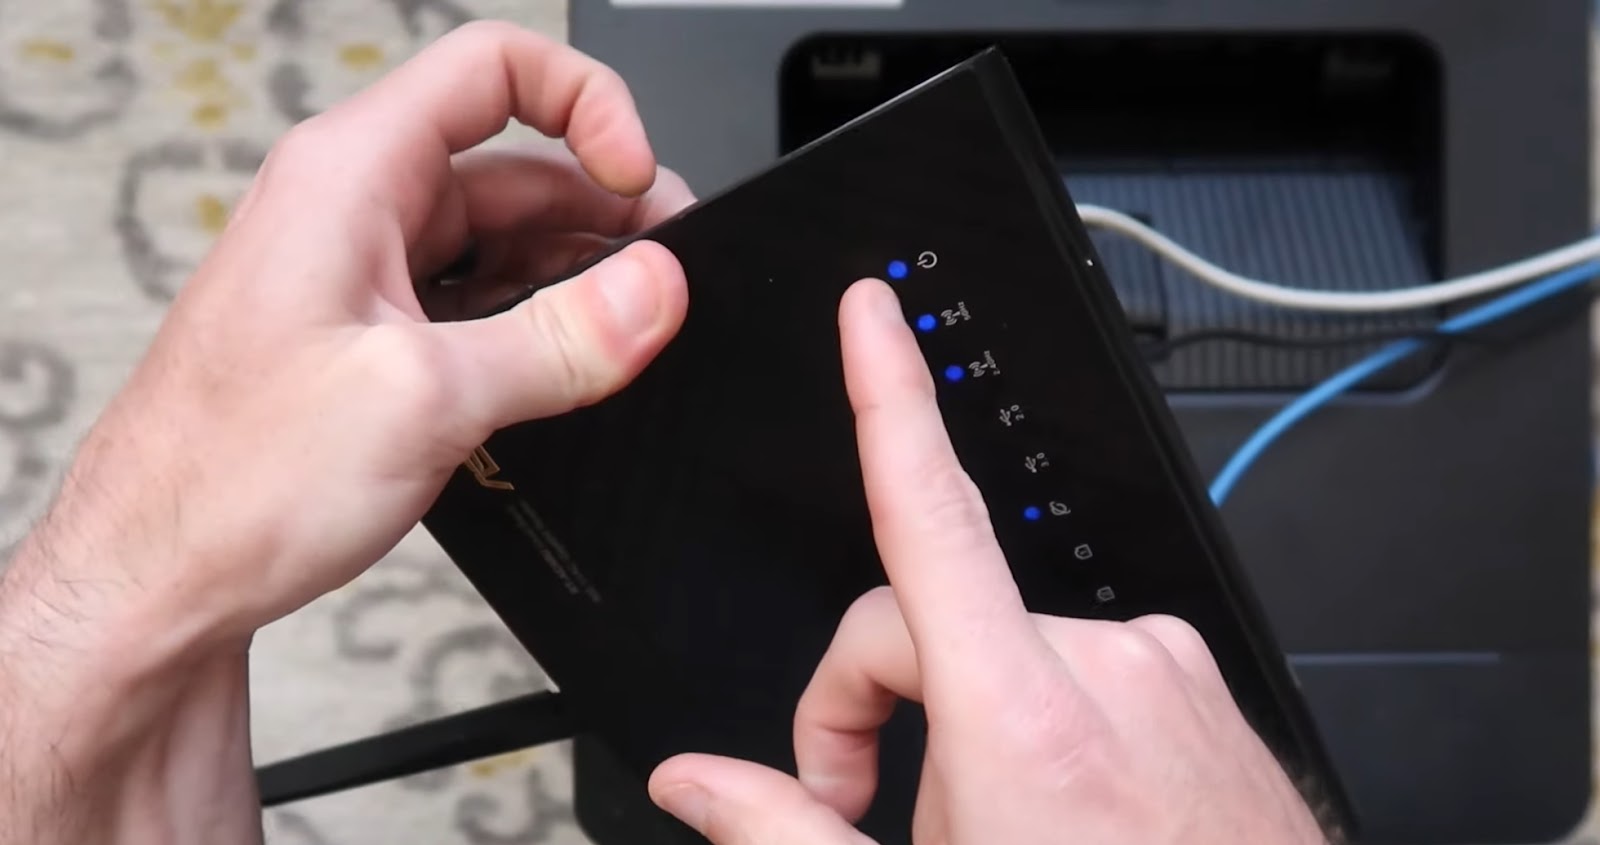
Step 6– To connect your printer to the Wi-Fi through the WPS method and fix Brother HL Series Printer Connectivity Problems, you need to turn on WPS on your Wi-Fi router. For that press the WPS button on your router.

Step 7– The power light in the Wi-Fi router will start blinking. It means now you are ready for Brother HL 1210w series connect to wifi.
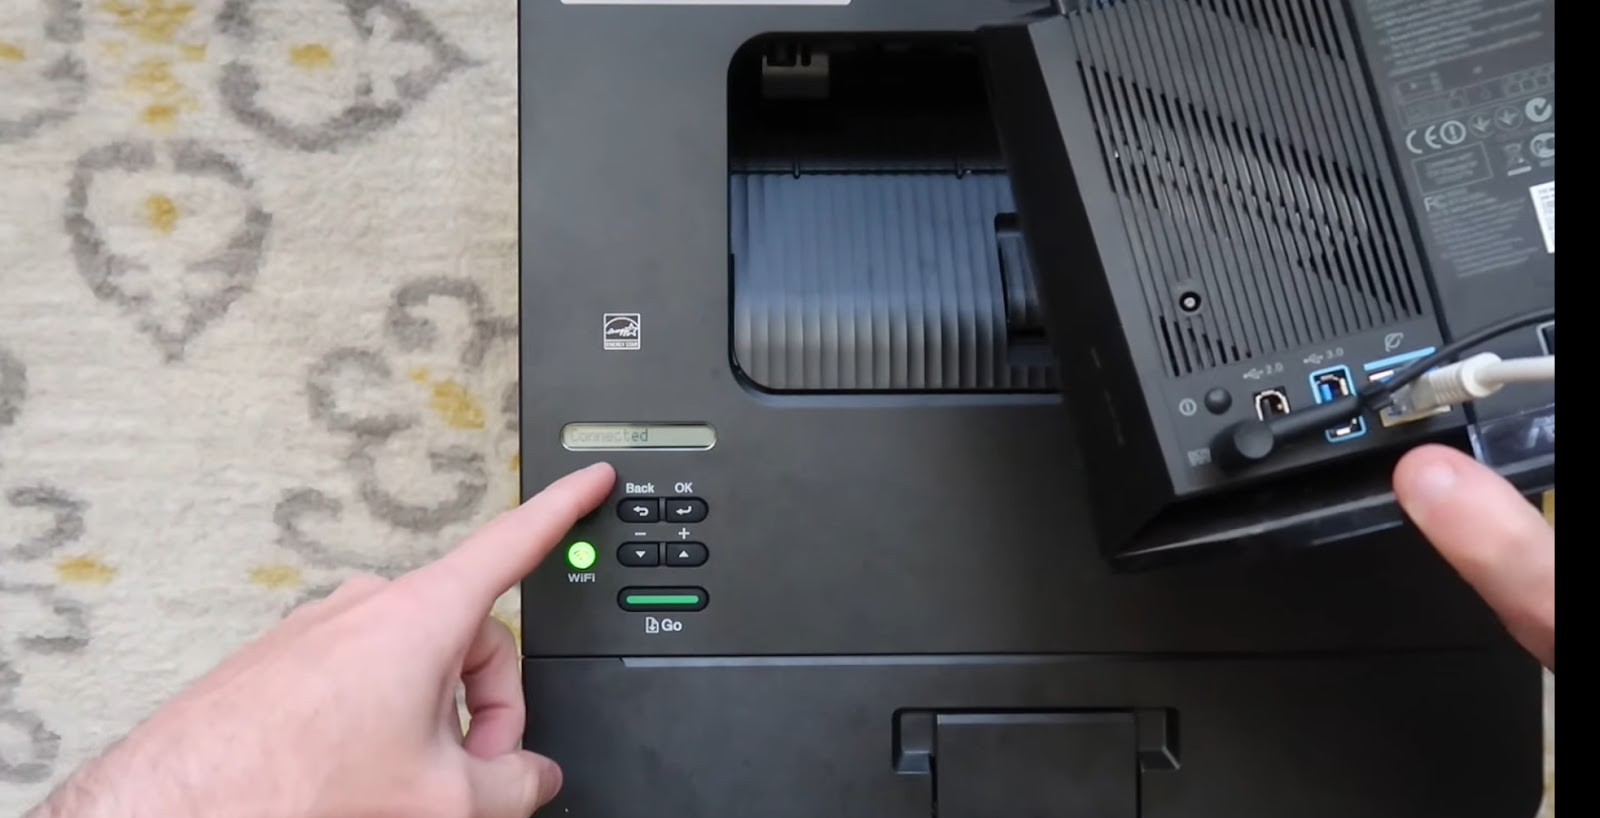
Step 8– Look into the display of your Brother printer. The display will show Connected and The Wi-Fi button will turn green once the Brother printer is successfully connected to the Wi-Fi.
Brother HL Series Printer Connectivity Problems are not a big deal even if you know a little about printers or Wi-Fi. Using the steps given in this blog, you can easily brother hl 1210w series connect to wifi using the WPS method. If you are not able to find the WPS button on your router or there is an issue with the connection, feel free to contact Printer Touch for support.