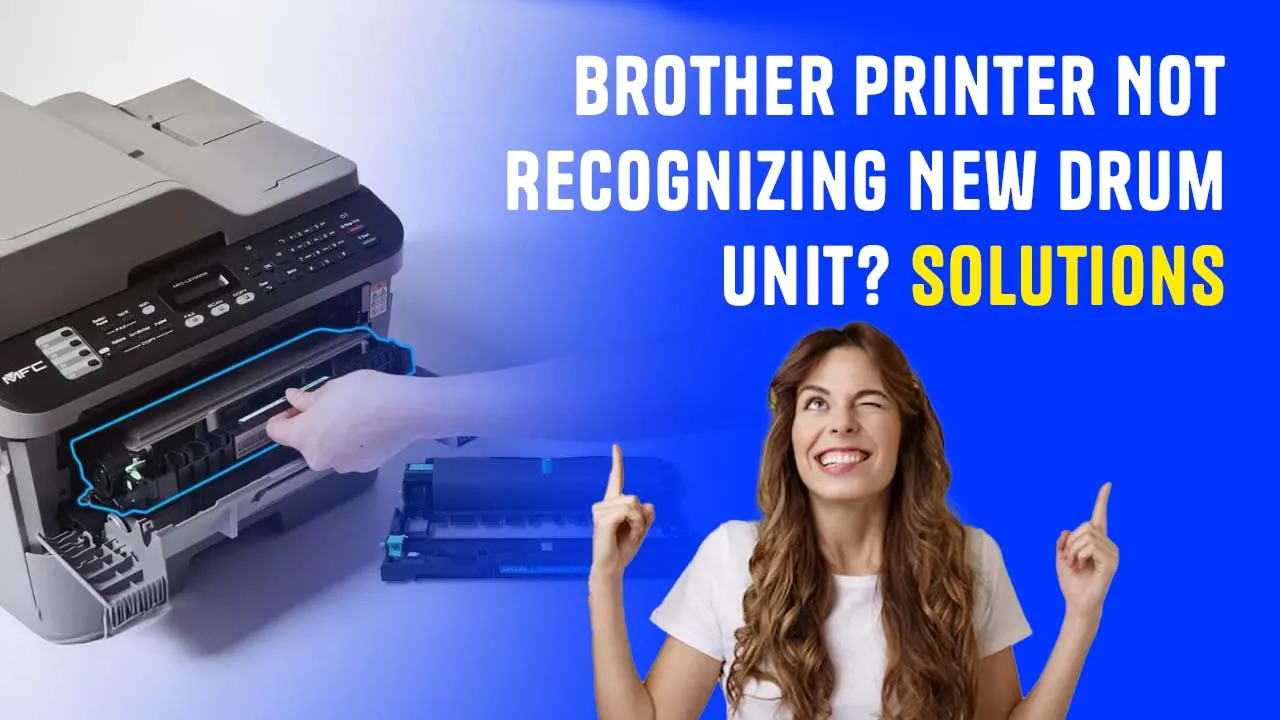
Brother Printer not recognizing new drum unit is often caused by simple factors like improper installation. It can also be caused by the overuse of the drum unit of Brother printer. In this blog, we will guide you through the tough procedure of changing the drum unit of a Brother printer. It is recommended that you do this under the guidance of a printer expert. Get in touch with Printer Touch before you reinstall the drum unit or install a new one.
Step 1– Power off the printer first before changing the drum on a Brother printer.
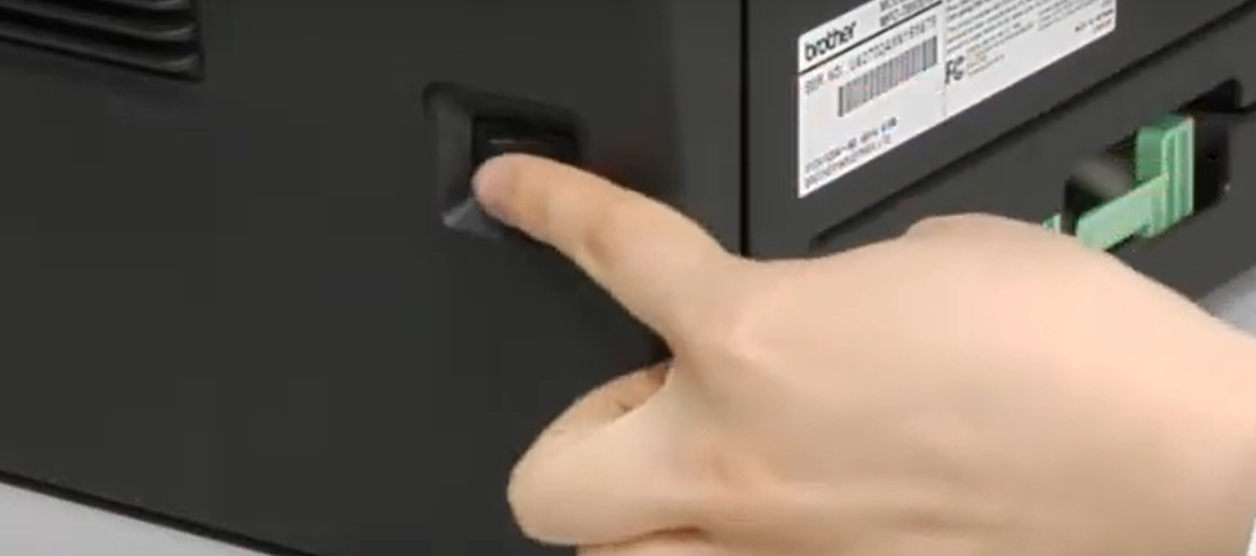
Step 2– To replace the drum Brother printer, first remove the printer from the power source.

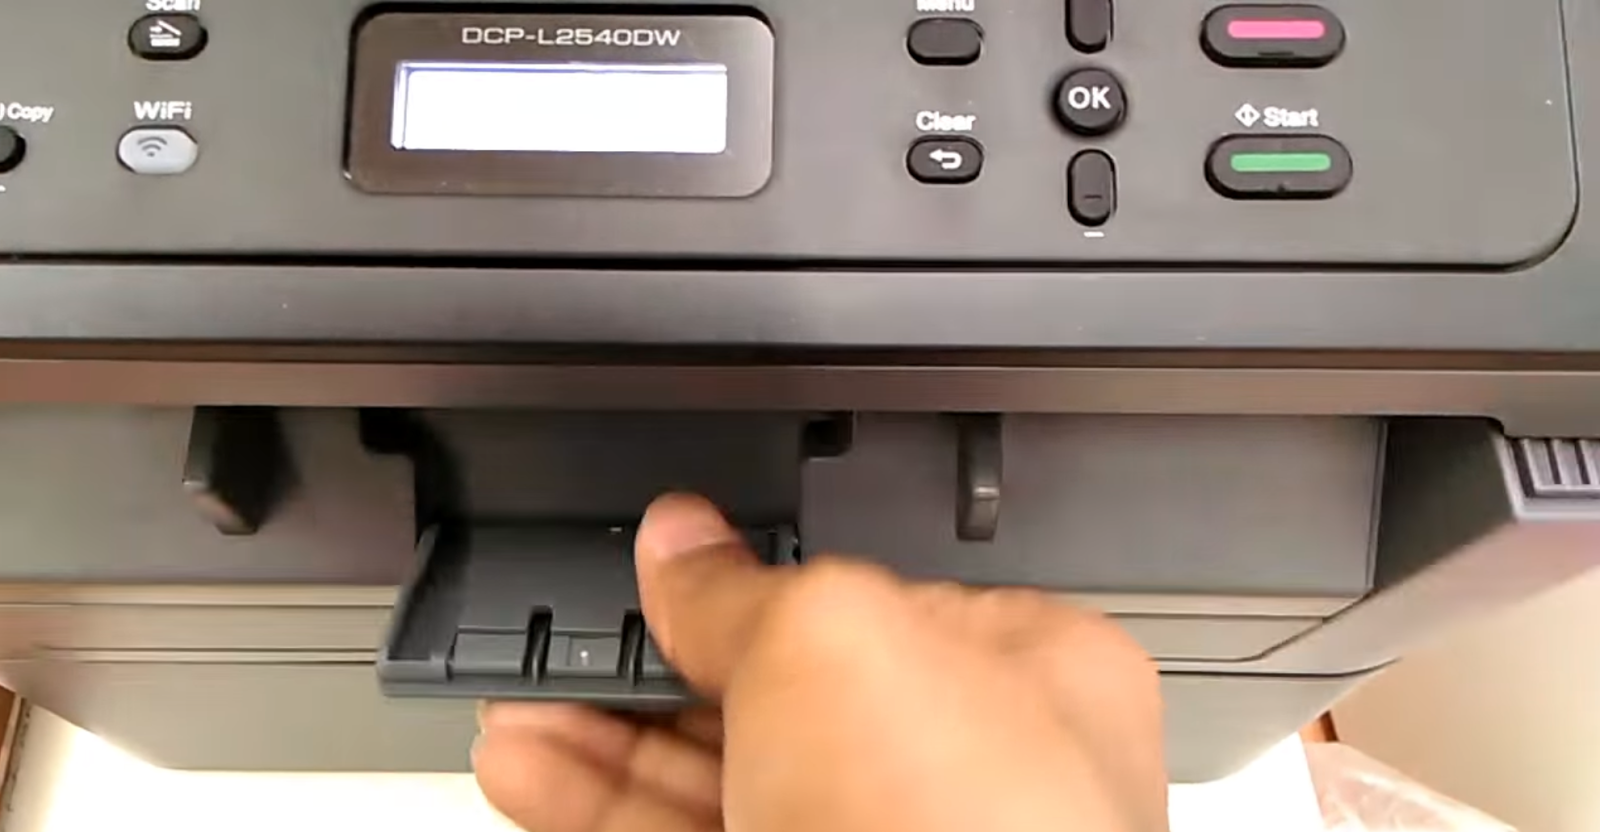
Step 3– Lift the tray of the printer to open it.
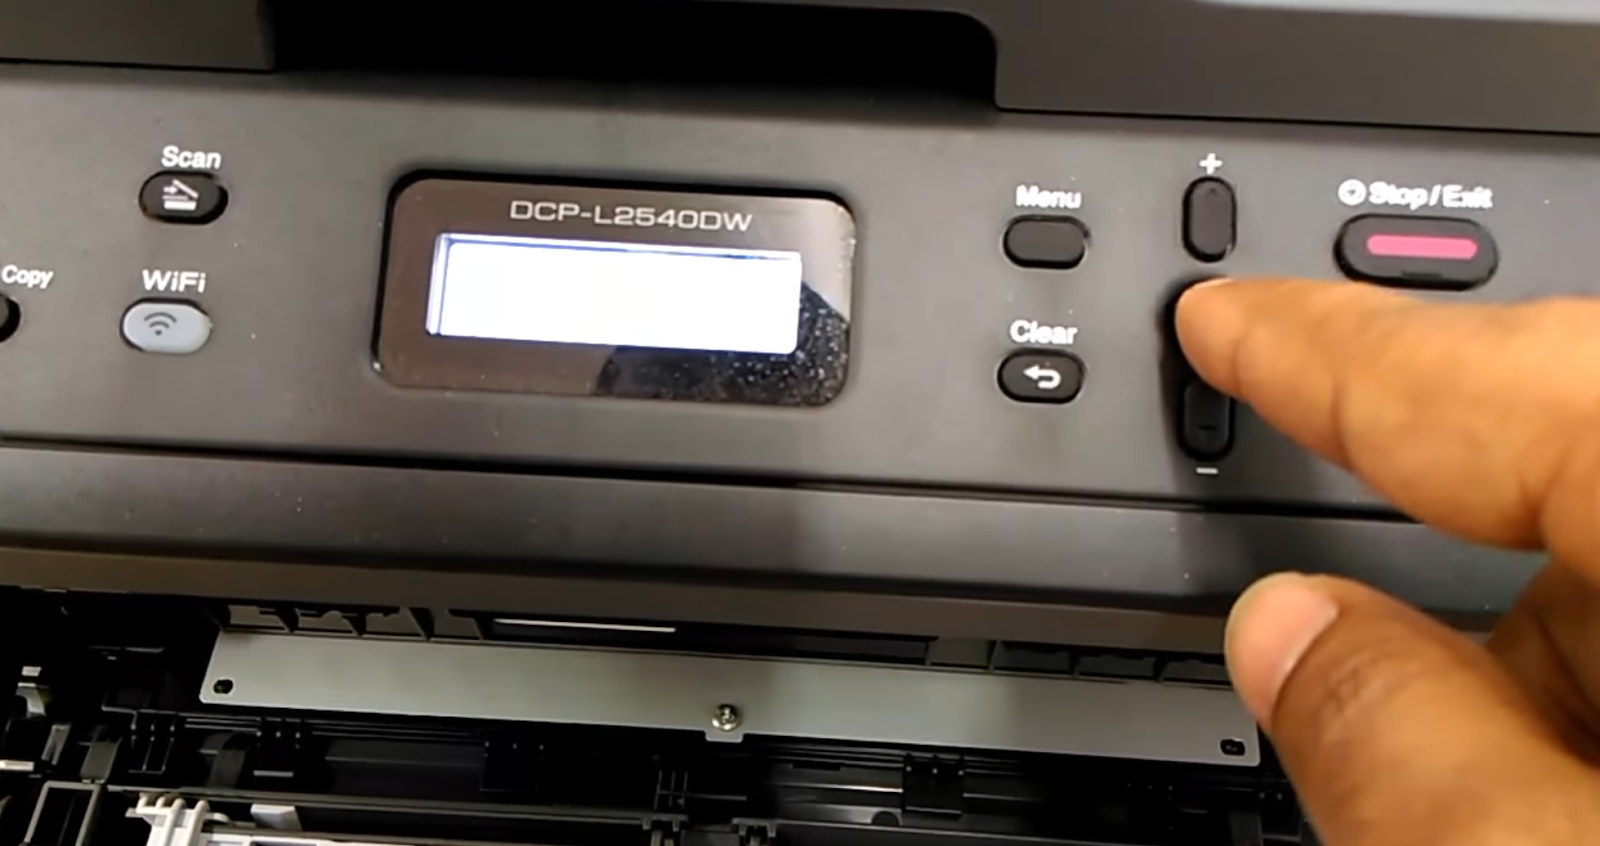
Step 4– Press and hold the ok button until the drum setting comes on the printer display.
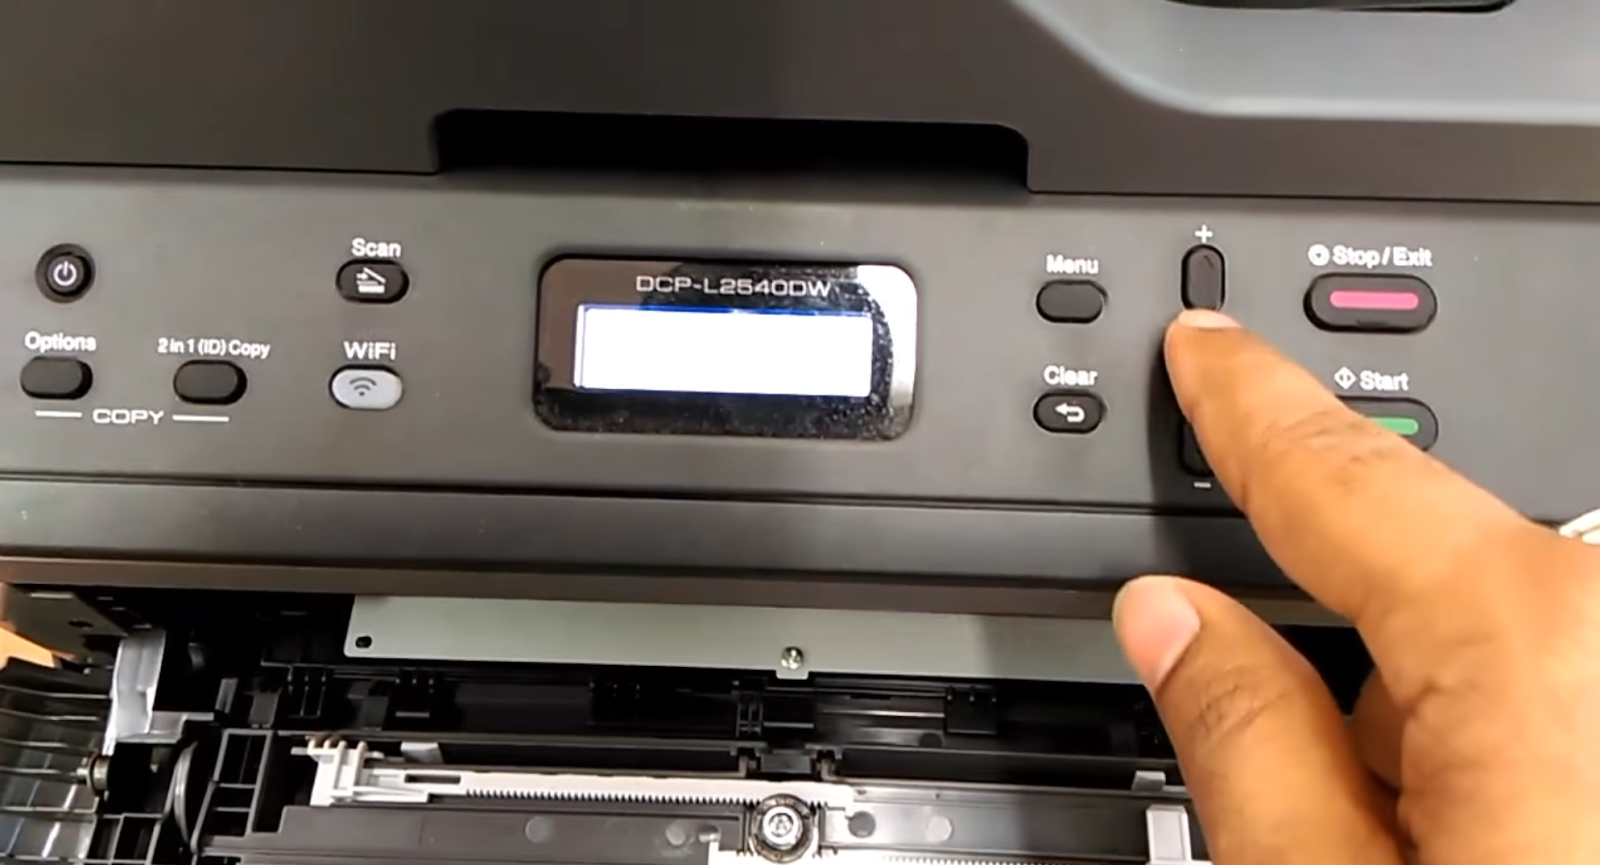
Step 5– The printer will ask if you want to replace the drum unit. Press the up arrow to confirm.

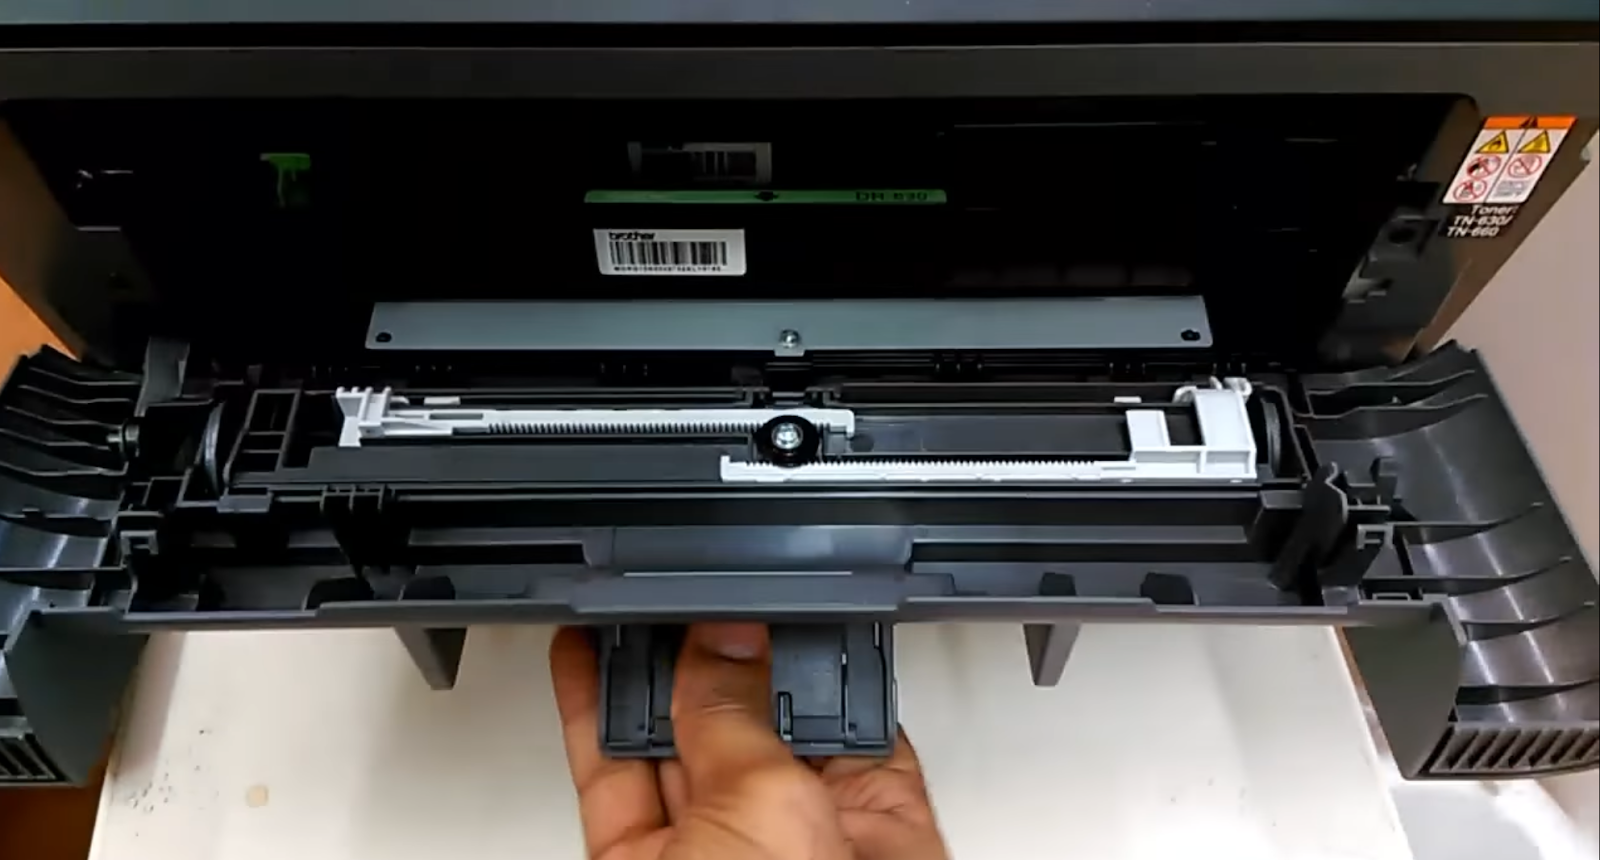
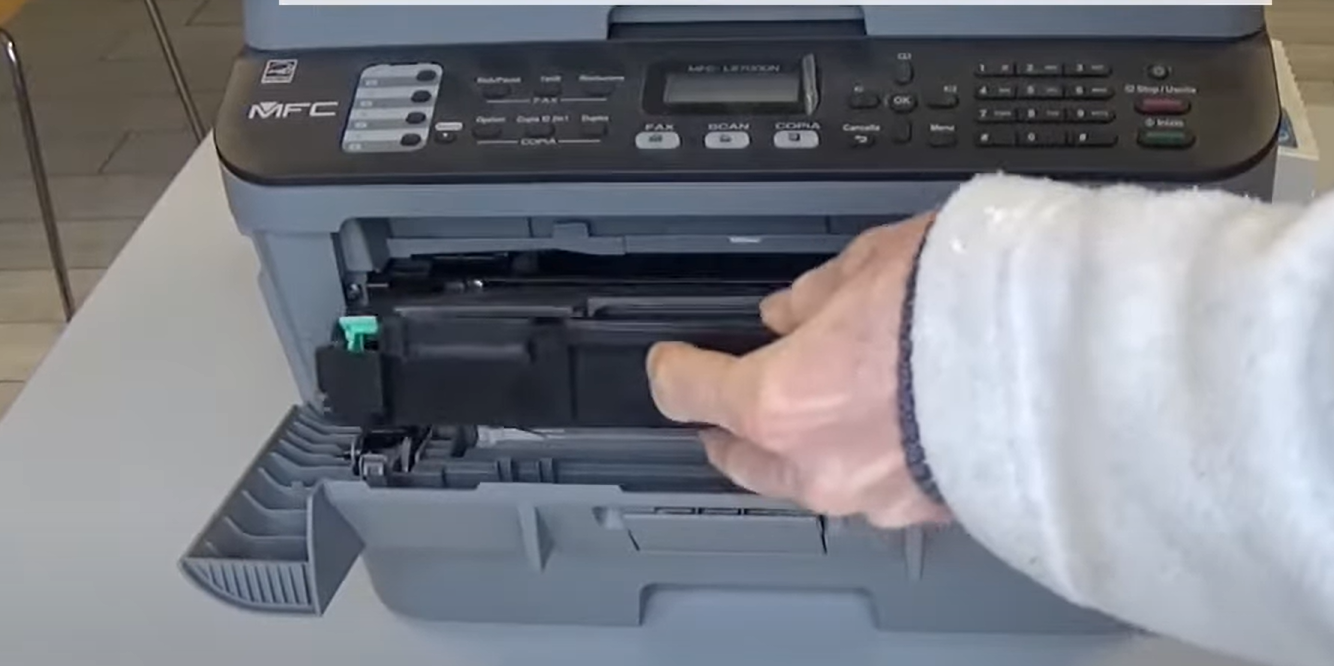
Step 6– Remove the drum unit of Brother printer.
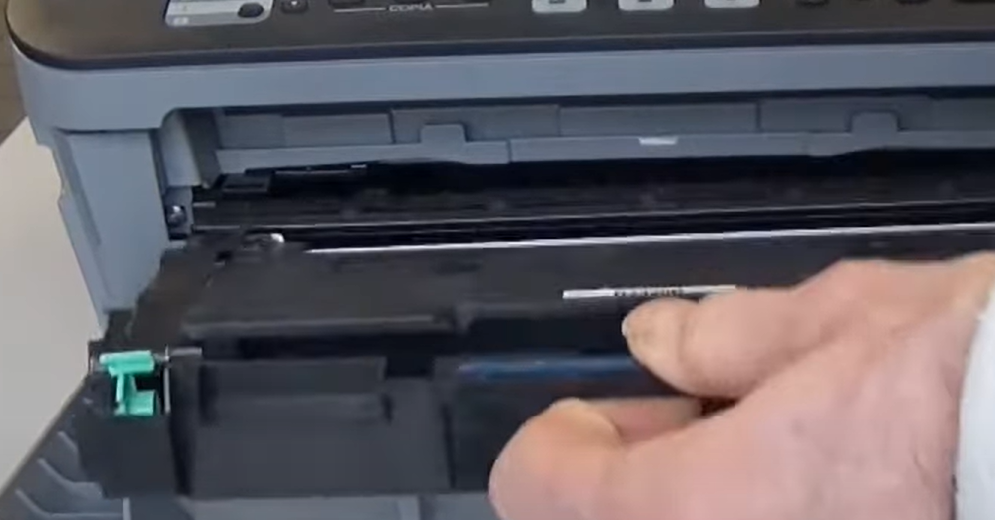
Step 7– Buy a new drum for Brother printer and insert it into the designated slot for the drum unit.
Step 8– Press the minus button once to reset the drum counter.
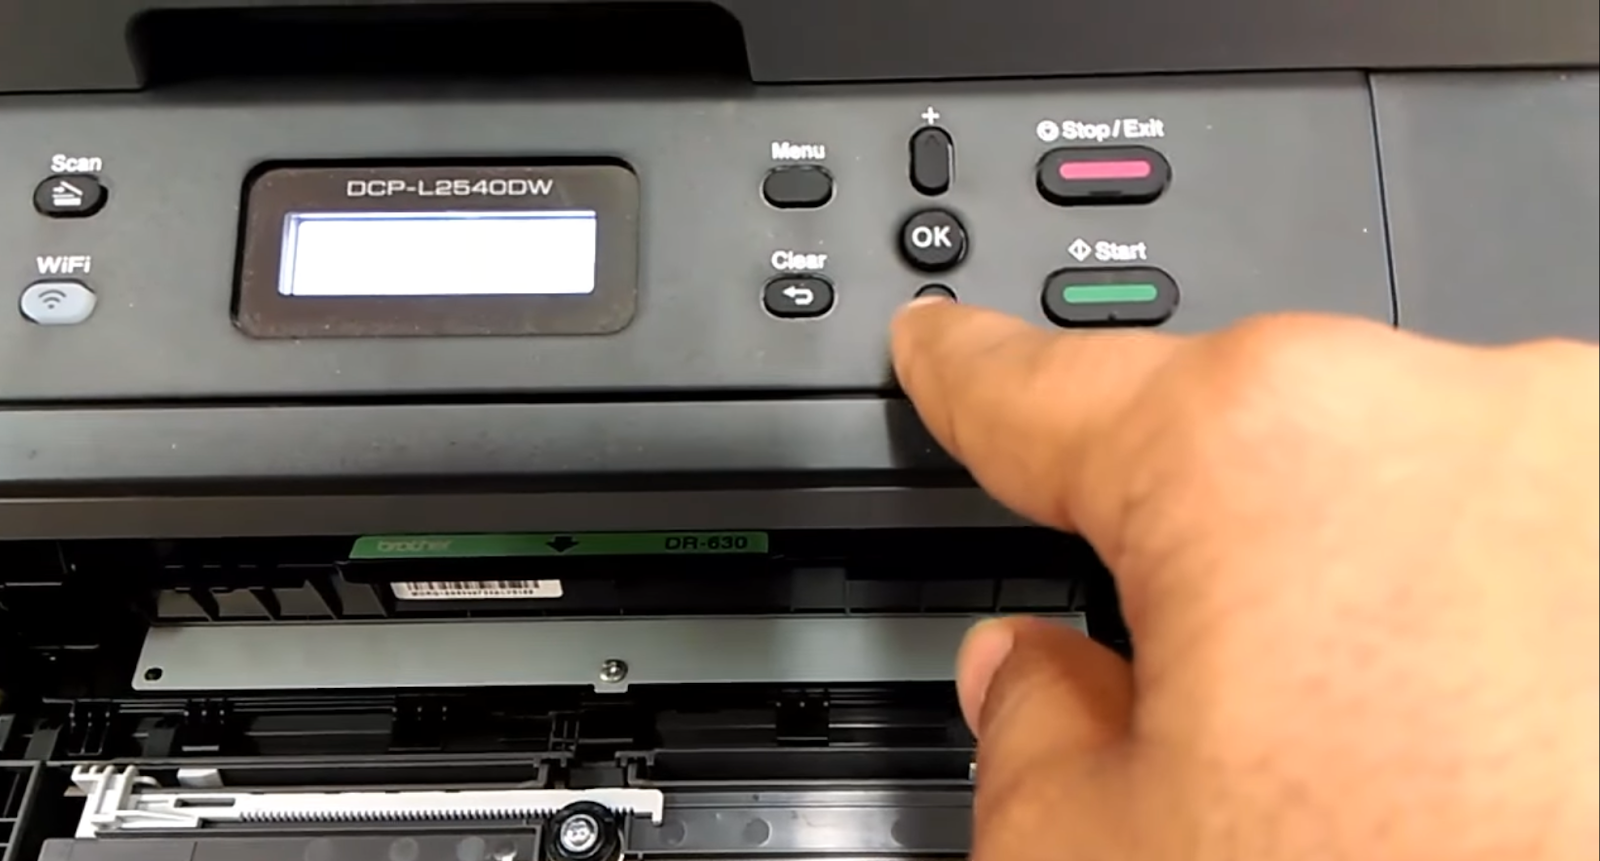
Step 9– After the Brother printer not recognizing new drum unit issue is fixed, press ok to confirm.
Step 10– Close the cartridge access door.
Brother printer not recognizing new drum unit is a very common issue among Brother printer users. To fix this issue, you can reset the counter of the drum unit or replace the drum unit with a new one. If the issue is not fixed after trying these solutions, you should look for a printer expert to help you out. Call Printer Touch at +1-844-460-2008 to talk to a printer executive. Call now to replace the drum for Brother printer.