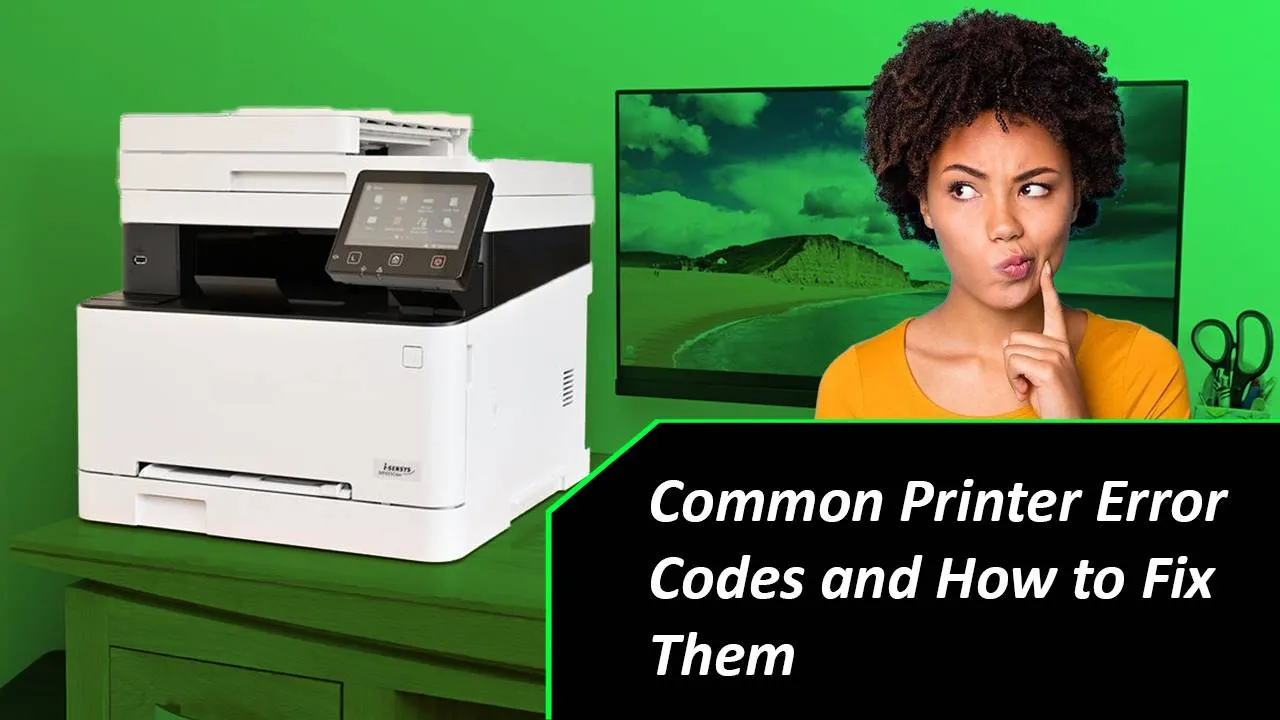
Printer error codes are different for different computers but there are certain common Printer Error codes for every printer. Printer Error Codes and Messages that appear on the printer screen or the printer software are warning messages that something is wrong with the computer. These Printer error codes should not be ignored. In this blog, we have compiled a list of common printer errors and laid out solutions for the errors. Read the full blog to learn more about common printer issues and solutions
Common Printer Issues and Solutions
Printer Paper Jam Error
Printer Jam is one of the most talked about and searched common printer issues. The error message displays on the printer screen when the paper path is jammed. The jam can be because of paper or some foreign material stuck into the paper path of the printer. You can get the issue in any printer model. The jam could be in various parts of the printer. It could appear in the paper tray, paper path, and even in the output tray of the printer. Follow the steps below to fix these common printing problems of Paper Jam.
Step 1– Switch off the printer.
Step 3– Take out all the papers from the paper tray.
Step 4– Take a flashlight and check inside the paper tray for any jam. If there is any paper inside, take it out gently.
Step 5– Open the front cover of the printer.
Step 6– Take out all the ink toners one by one.
Step 7– Look around the area to see visible pieces of paper and eliminate all the paper jams. Apart from causing some common printer issues, these jams can also make your printer nonfunctional, if not fixed so do not leave even a tiny piece of paper behind.
Step 8– Turn the printer around and open the back cover of the printer
Step 9– Check for a paper jam near the rear tray. Take the jammed paper using your hands.
Step 10– Take a lint-free cloth and clean the rollers gently. Using your hand, rotate the roller and keep cleaning until it is fully cleaned.
Step 11– Close all the covers and put the power cable back inside the printer.
Printer Offline
One of the most common printer errors that could stop you from printing is the “Printer Offline” issue. It happens with all of the printers. If it happens with your printer, you will need to first remove the driver and then reinstall the printer. Follow the steps below to fix common printer issues of “Printer offline”.
Step 1– Open the run menu. To open it, simply press the “Windows” and “R” keys together at the same time.
Step 2 – Type “devmgmt.msc.” in the search box and then click on “Run”.
Step 3– Find your printer under the devices section.
Step 4– Right-click the printer and then click on the “Remove Device” option.
Step 5– After the device has been removed from the list, unplug your printer.
Step 6– Restart the computer and put the printer plug-in.
Step 7– You will get a message that says “Device connected but driver not found”
Step 8– Open any internet browser and navigate to the printer’s manufacturer’s website.
Step 9– Find the “Support section” and then click on “Driver & software”.
Step 10– Find your printer model no and type it in the search box
Step 11– When your printer model shows up, click on it and then select the printer driver
Step 12– Install the driver after the download is complete.
Clogged Printhead
To make you aware of the clogged Print heads, all the printers show Common Printer Error Codes. The displayed common printer errors message could be of a “clogged printhead”, or “Clean the Printhead”. The Print Head of the printer transports and ejects ink onto the pages.
Automatic cleaning of Printhead from the computer
Step 1– Open the control panel and then click on “Hardware and Sound”.
Step 2– Click on “View Devices and Printers”
Step 3– Right-click on your printer and then click on “Printer properties”
Step 4– To remove Common Printer Error Codes of clogged printhead, click on the “Maintenance” tab.
Step 5– Click on “Printhead Cleaning”
Step 6– Click on the “Start” option.
Step 7– After the cleaning is done, the printer will print a test result. Make sure that there is an A4 size paper loaded into the paper tray of the printer.
Step 8– If you are not happy with the result, repeat the process.
Manual cleaning of Printhead from the computer.
Step 1– Turn off the printer
Step 2– Open the covers
Step 3– Pull out the ink cartridges. The ink head is in the back of the cartridges. To fix common printer errors related to printhead, you will have to clean the part.
Step 4– Take a clean cloth, moisten it with some water, and clean the head of the ink cartridges.
Step 5– Place the cartridges on a dry towel and let them dry for some time.
Step 6– When the Ink Heads are fully dry, put them back inside the printer
Step 7– Put back the printer cover and connect it to the power.
We have discussed typical printing faults which comprise jamming of paper, printhead challenges, and printer offline issues in our blog post on “common Printer Error Codes”. Our goal is to share knowledge with you about typical printer problems and their fixes through this blog. Please contact us if you need assistance with any other printing problems or if your printer is having problems. Please use the Contact Us form to get in contact with Printer Touch, and one of our staff will do so right away.


