
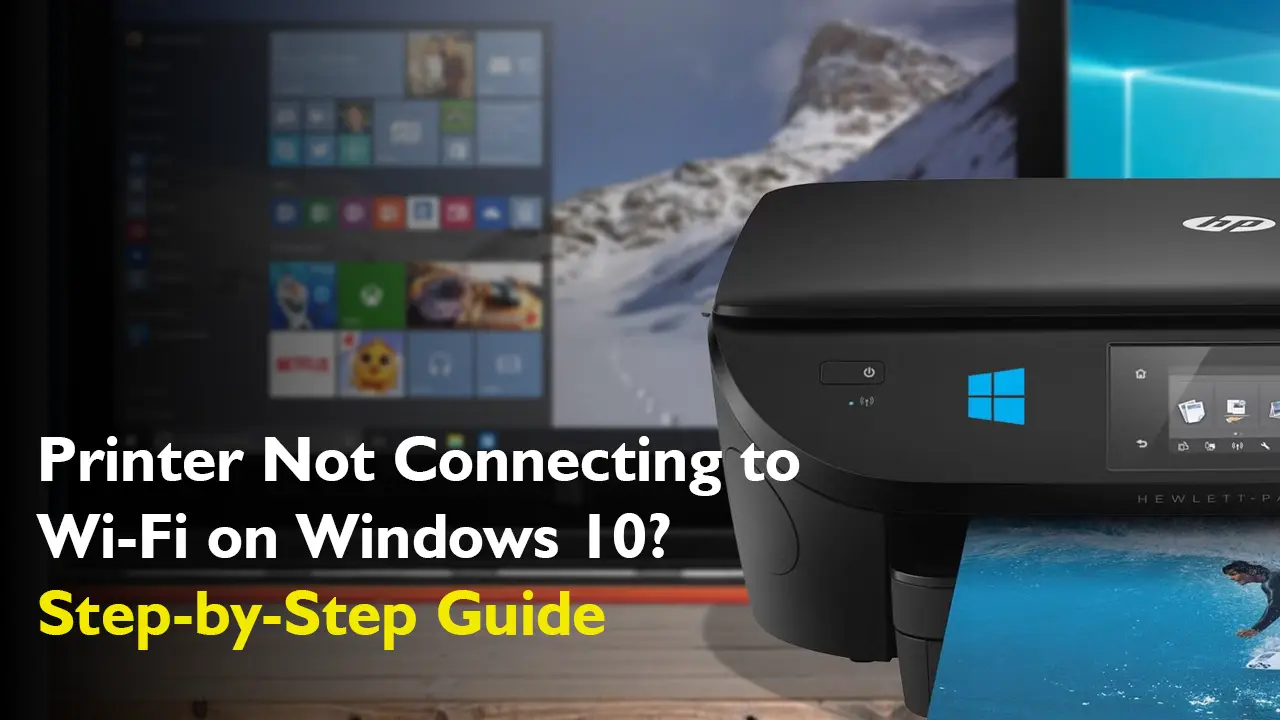
Whether your printer keeps disconnecting, won’t recognize the network, or refuses to connect altogether, there’s usually a simple fix. The printer not connecting to Wi-Fi is the main reason for it all. Resetting the printer and router, checking network settings, or updating drivers can often resolve the issue. In this guide, we’ll walk you through how to connect your printer to Wi-Fi on Windows 10 step by step. With the right troubleshooting steps, you can get your printer back online within minutes.
Step 1– If your printer can t find WiFi, you need to first disconnect the power cable of the printer from the dock and then re-insert it after waiting for about two minutes.

Step 2– After the printer is turned on, you need to turn it off again. Press the power button to turn the printer off.

Step 3– If the printer does not connect to wifi, you need to reset the Wi-Fi. To start the reset, press and hold the “X” button and the “Wi-Fi” button at the same time.

Step 4– Keep the buttons pressed until the light starts blinking as shown in the image below.

Step 5– Once the Wifi button turns green, the printer not connecting to Wi-Fi issue will be fixed. If it does not, follow the next steps.

Step 6– If your printer can t find wifi, detach all the wires from the wireless router and remove it from the power source.

Step 7– After removing the router from the power source, find the Reset button on the router, use a safety pin to reset the router by inserting it into the hole that has the button inside.

Still struggling with a Printer Not Connecting to Wi-Fi even after trying all the fixes? Sometimes, network glitches, outdated firmware, or hidden settings can make things more complicated. Instead of wasting more time, let the professionals help. If the printer does not connect to wifi, you will not be able to print on the network. Printer Touch is there to help you in such situations. Do not wait in line when we can serve you urgently. Call Printer Touch at +1-844-460-2008 to get immediate help.