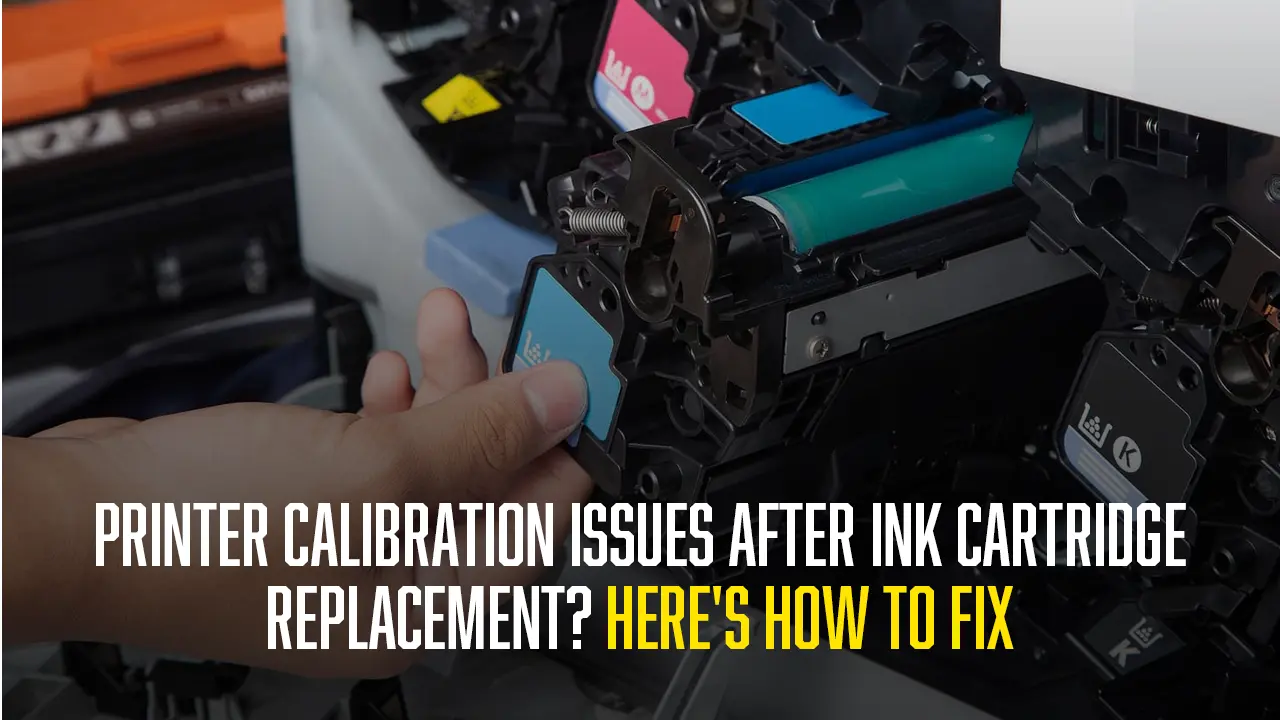
Printer issues after changing Ink cartridges occur when the cartridges installed inside the printer misfunctions. There is no proven answer to why this happens, but improper installation during the replacement is a big reason for this. After you calibrate color printer, it is very important to install the cartridges properly. In this blog, we will guide you through the step-by-step process for fixing printer calibration issues after you have replaced the ink cartridges.
Step 1– If your printer has a full cartridge but ink not printing, start the fix by turning off your printer.

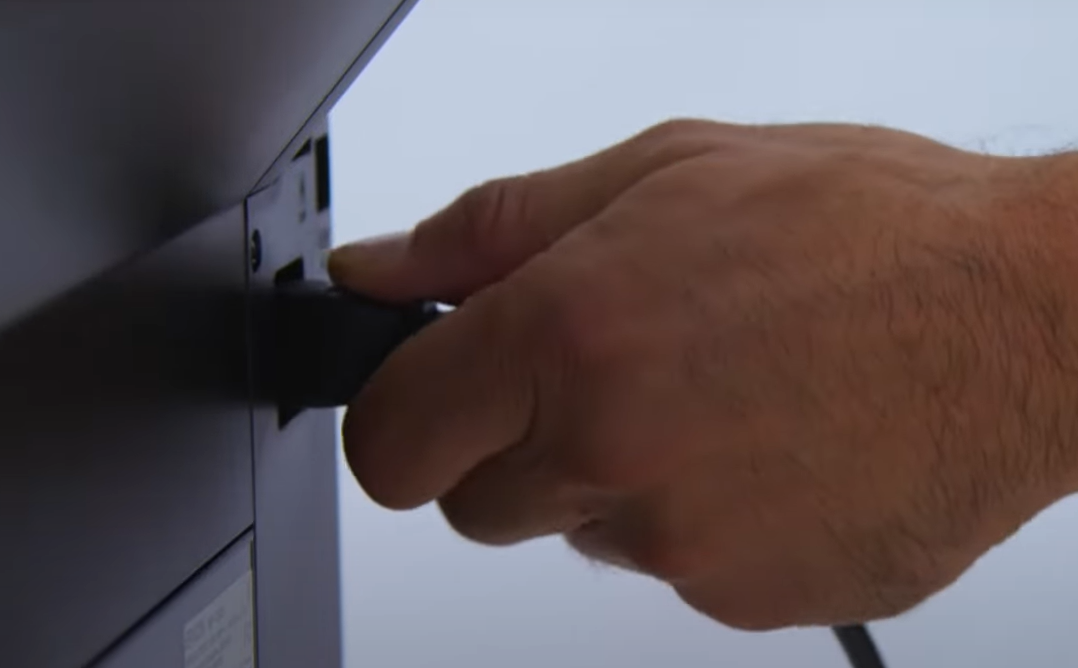
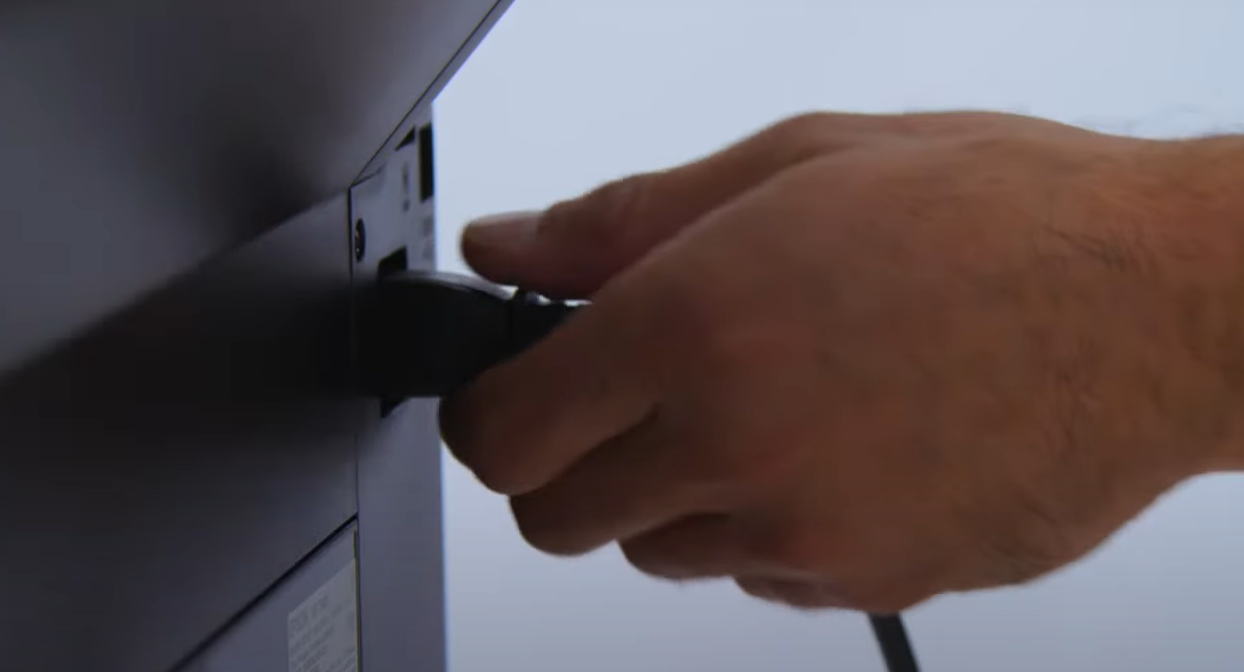
Step 2– Unplug the power cable from the printer to avoid mishaps.
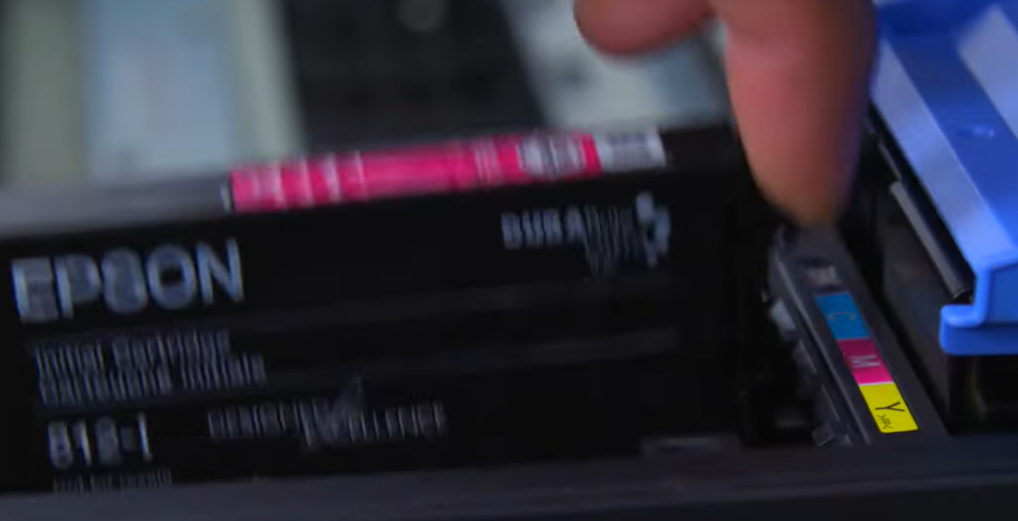
Step 3– Printer ink cartridge issues are caused by the cartridge not being installed properly, so to take out the cartridges, open the cover of the printer.

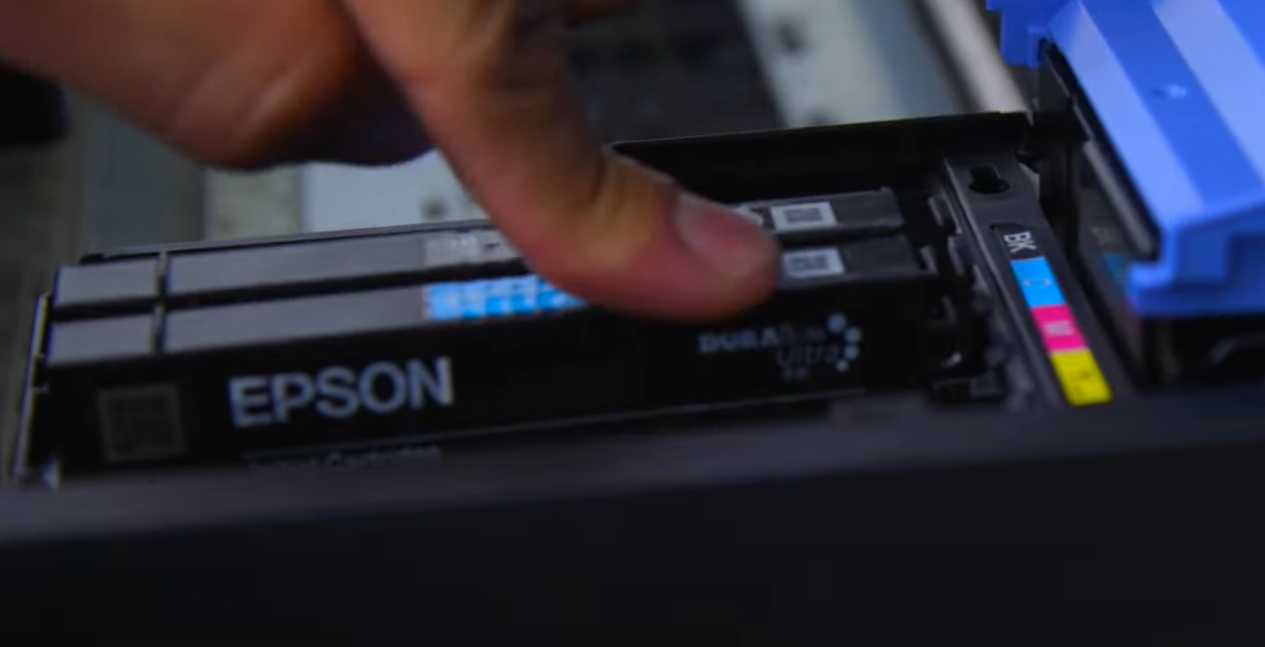
Step 4– Take out each of the cartridges one by one. Start with the black one and then remove each color cartridge.
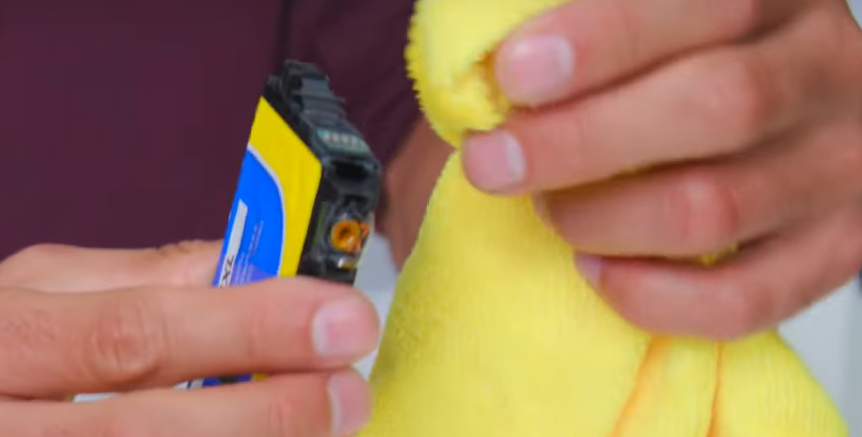
Step 5– To fix the calibration issues, take a clean towel and clean each of the cartridges.
Step 6– After you have cleaned the ink cartridges, install them back into the printer and close the covers.
Step 7– Put the power cable back into its slot and start the printer to check if the printer issues after changing ink cartridges are fixed or not.
In this blog, we have provided the steps to fix printer issues after changing ink cartridges. The steps are very easy to perform and require no expert guidance. If cleaning and reinstalling your cartridges haven’t resolved your printer calibration problems, then you need the help of a printer expert. A printer expert from Printer Touch connects with you remotely to diagnose the issue and provide the fix within minutes. Reach out to Printer Touch for expert help. Call us at +1-844-460-2008