Printer ink cartridge problems especially when you’ve just installed a new cartridge, can be daunting. Many users find themselves asking why a full ink cartridge not printing. This issue can arise from clogged nozzles, incorrect cartridge installation, or compatibility problems. While it’s tempting to throw up your hands, these problems are often easy to solve with a little cleaning. In this blog, we will tell you how to clean the printhead of your printer and fix the ink cartridge issue.
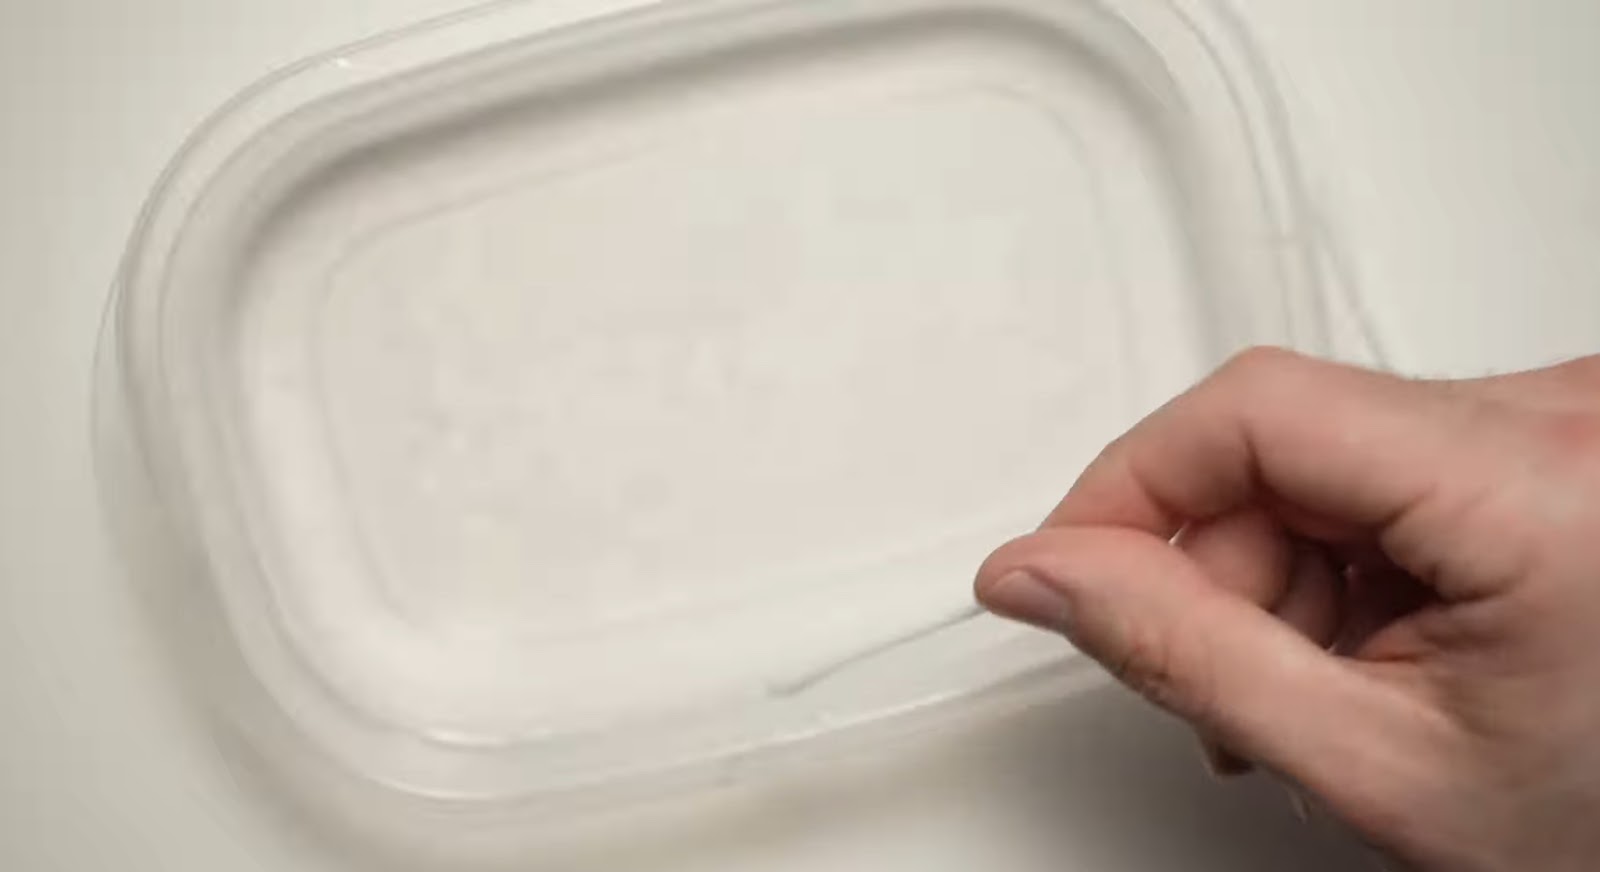
Step 1- If you have a full ink cartridge not printing, take the print cartridge out of the printer.
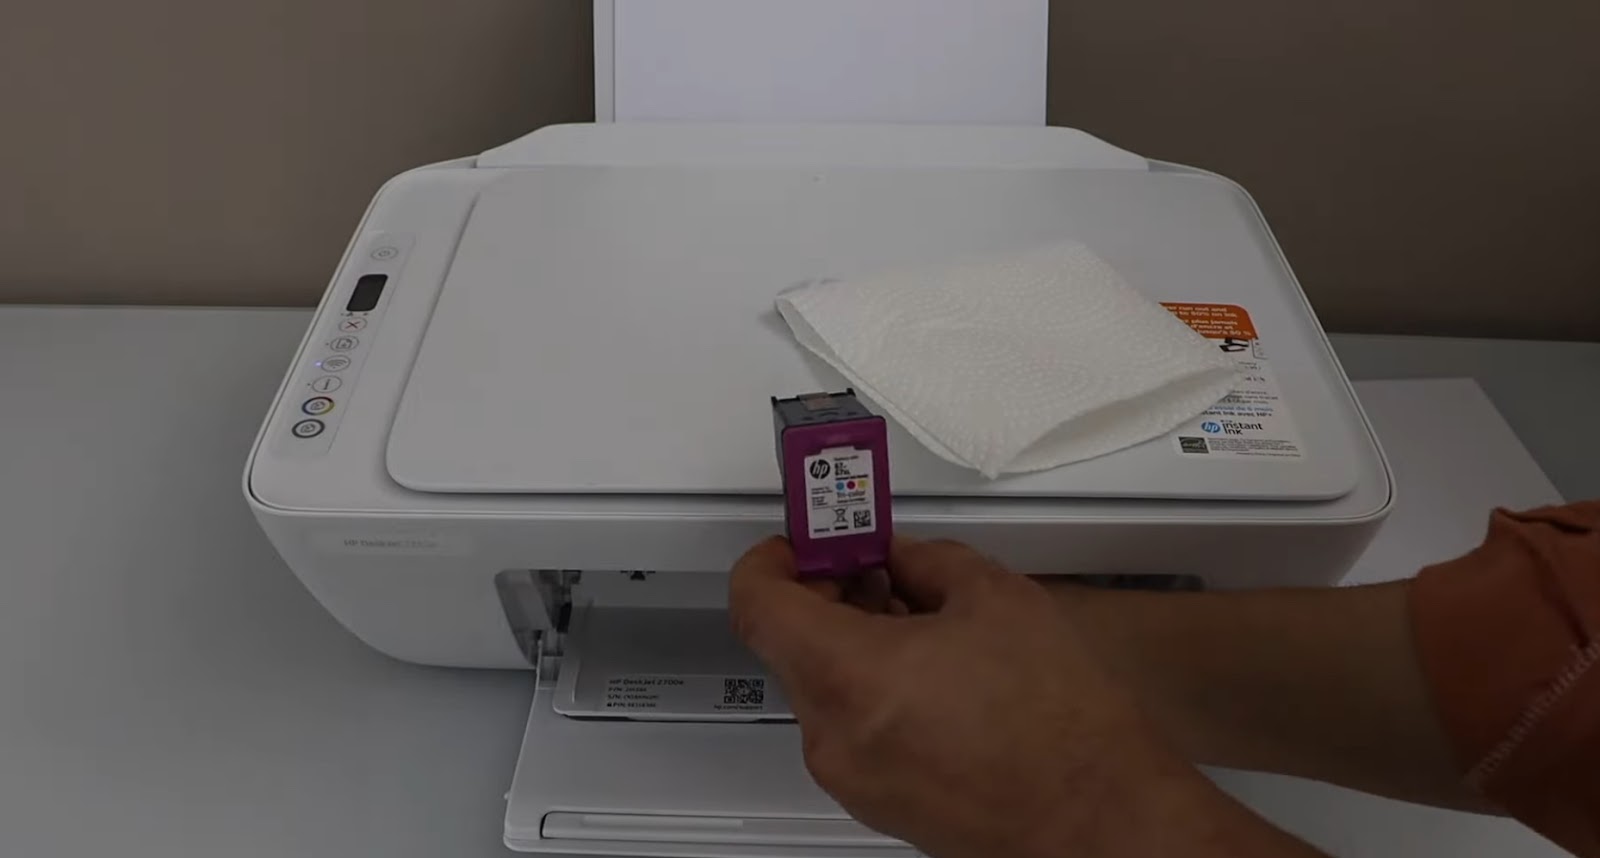
Step 2– Check the print cartridges if it is dried out. If it is dried out then you need to clean it. To do that follow the steps below.
Step 3– If your printer ink full but not printing, take a cotton swab and moist it up by dipping it into a bowl of water.
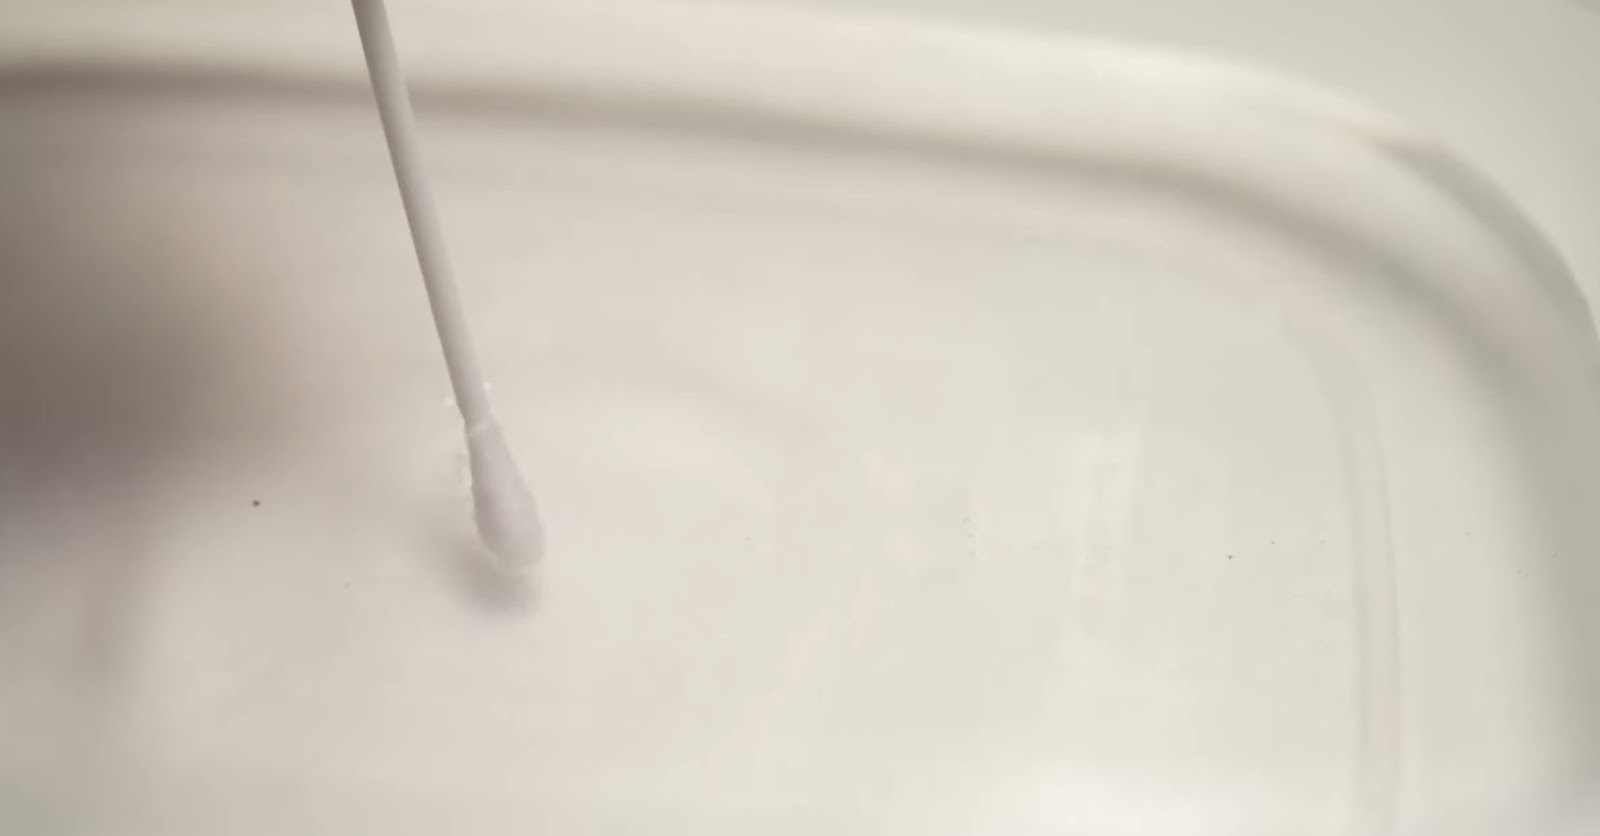
Step 4– Remove the excess water from the swab before you start cleaning the printhead.
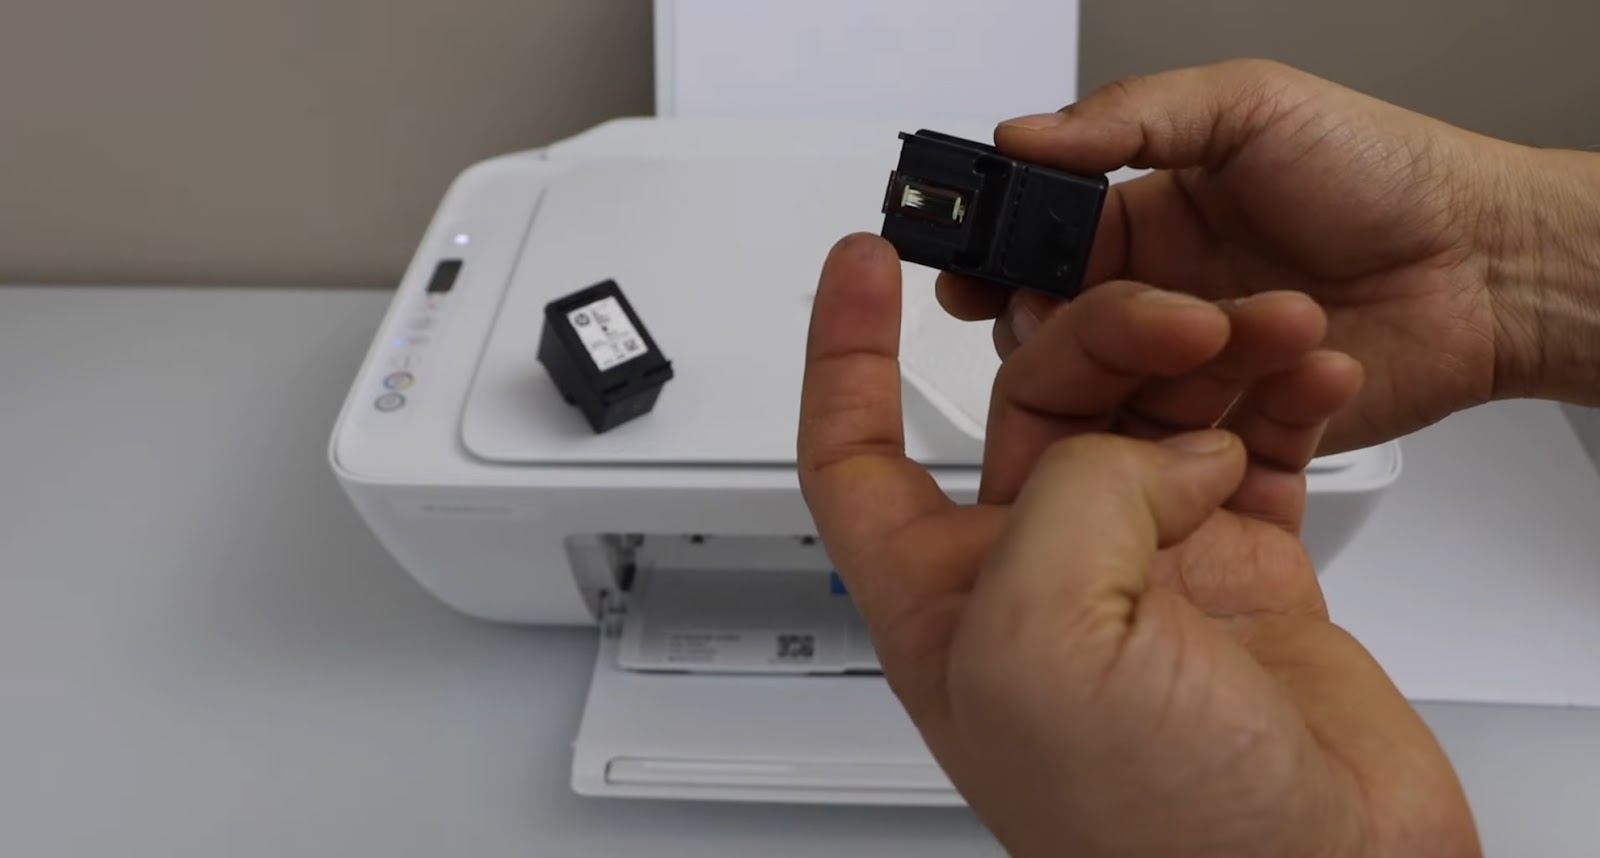
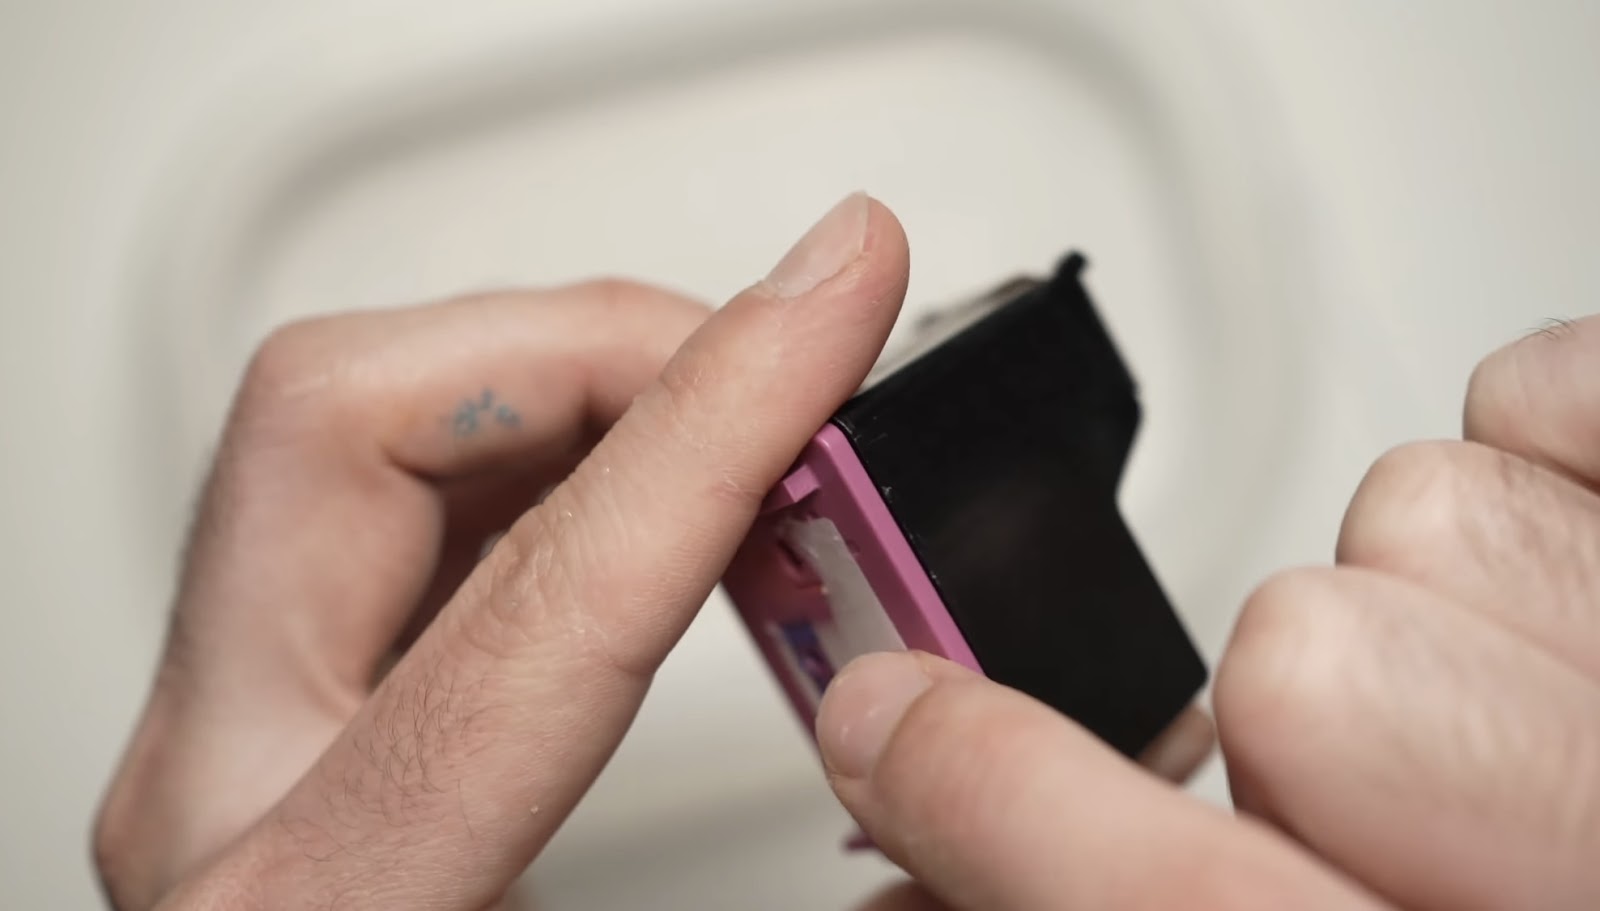
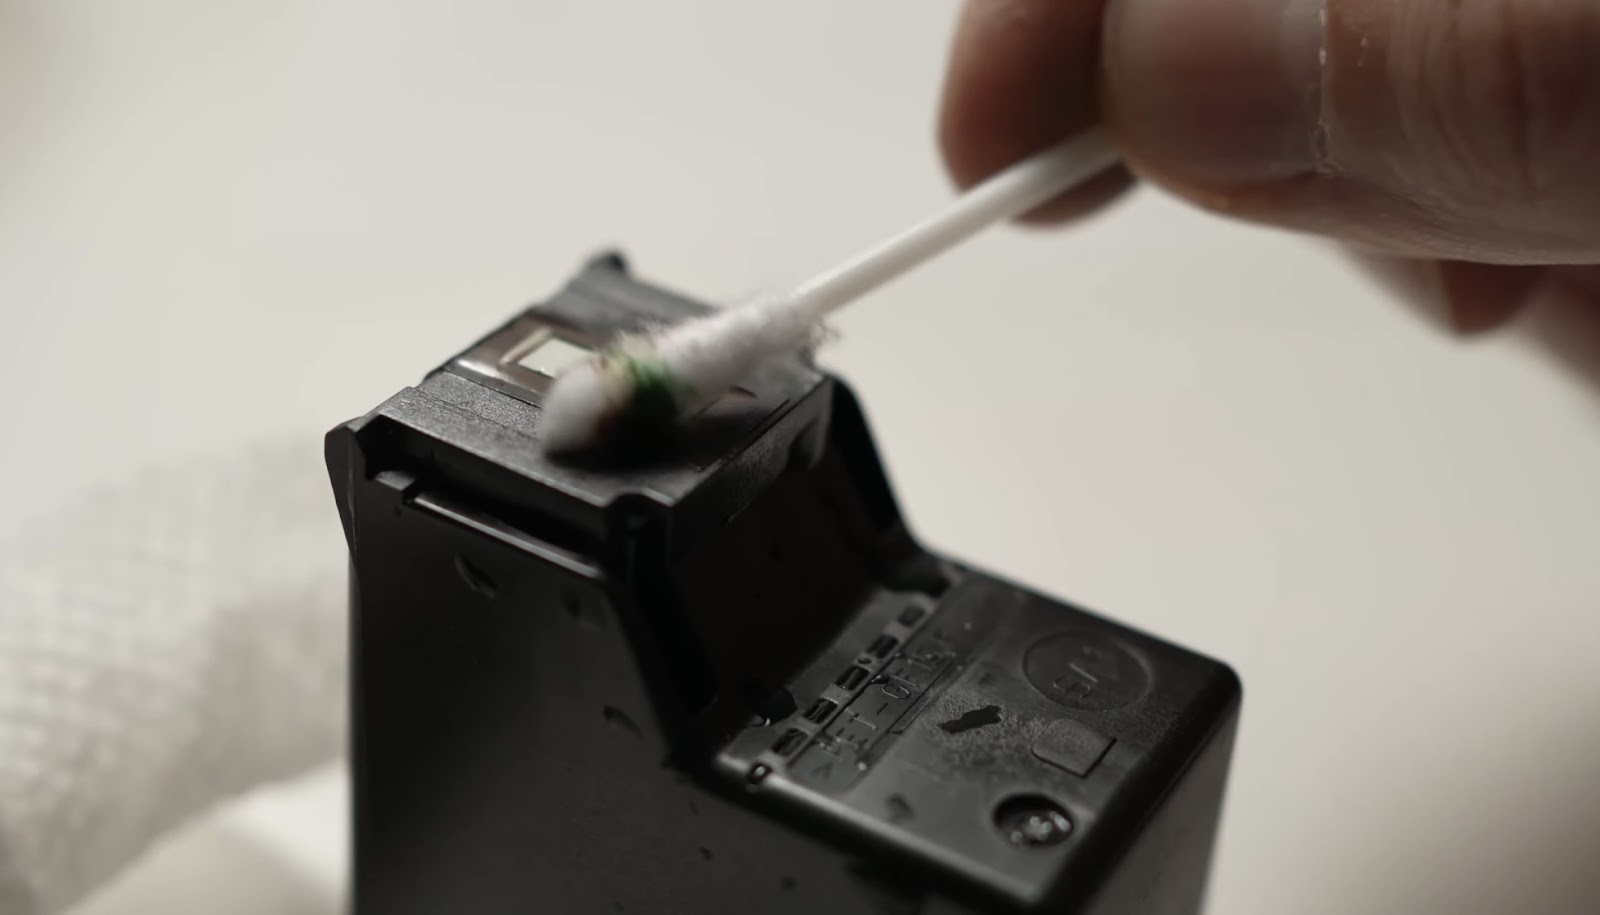
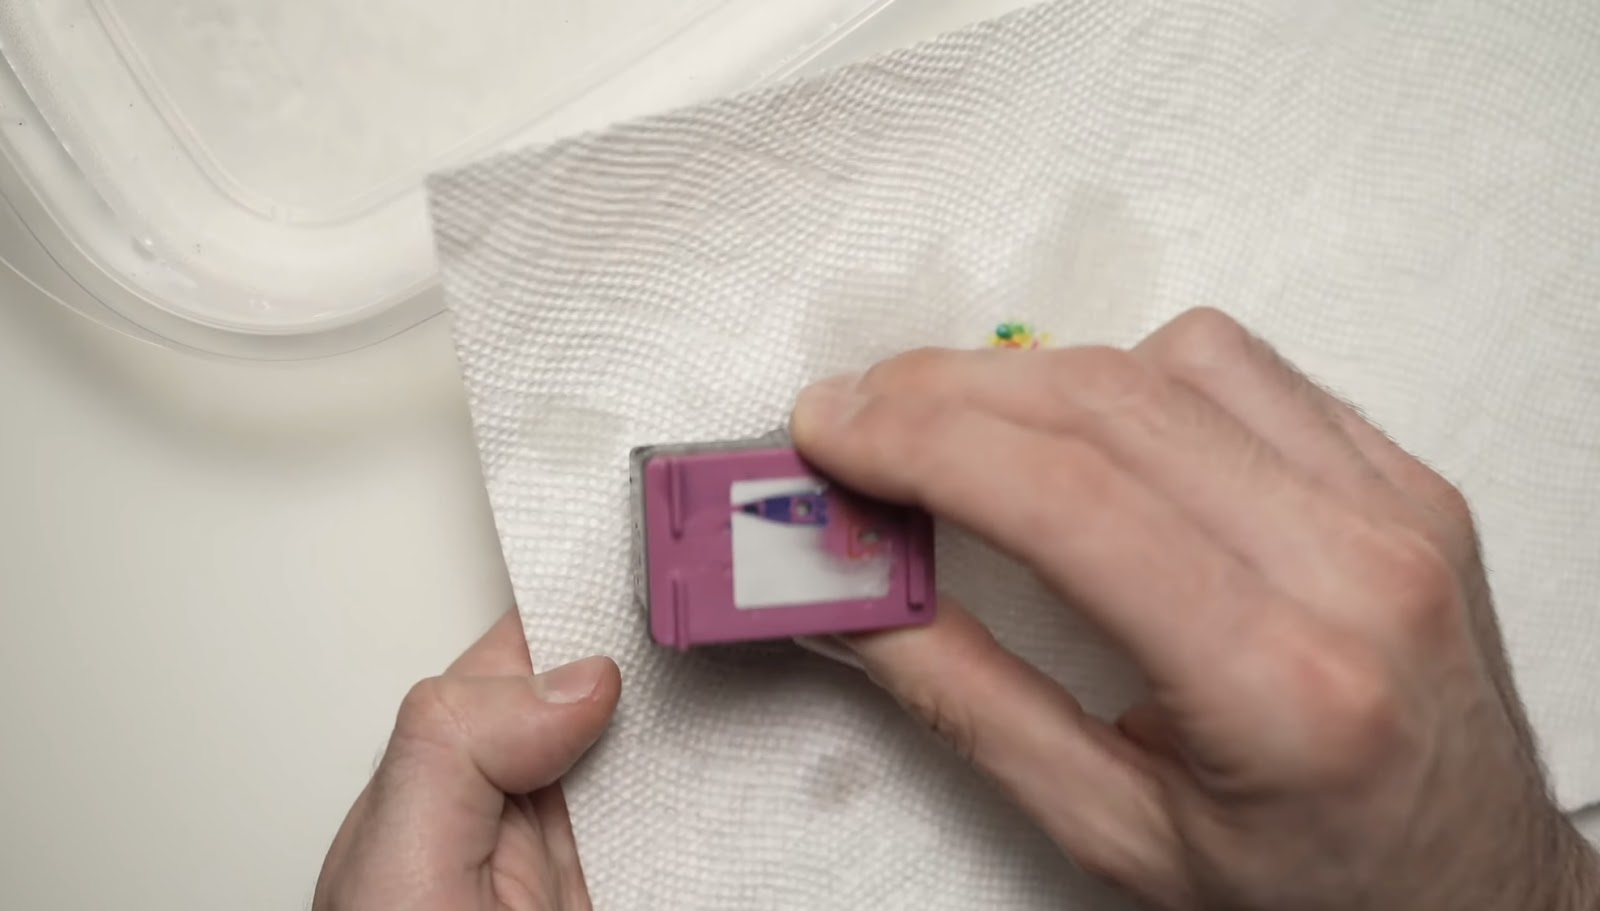
Step 5– Take the ink cartridge in one hand and rub the printhead with the cotton swab as shown in the image below.

Step 6– The printhead is at the opposite side of the color tab so do not mistake the printhead for metal contacts
Step 7– Keep rubbing it to dislodge the dried ink and fix printer ink cartridge problems.
Step 8– Take a tissue and clean the cartridge to soak out any moisture from the printhead of the ink cartridge. After the ink cartridge is fully dried, install it back into the printer.
Have you wondered why printer ink cartridge problems keep coming up? Well, no one has an exact answer to that question. There can be different reasons but we do know how to fix it. By following the step-by-step tutorial you can clean your printer and fix the problem of printer ink full but not printing. Cleaning is a very complicated process and you need guidance. To get guidance from an expert has been made easy for us. You can get an expert to guide you in just minutes. Just get in touch with Printer Touch. Call Printer Touch at +1-844-460-2008