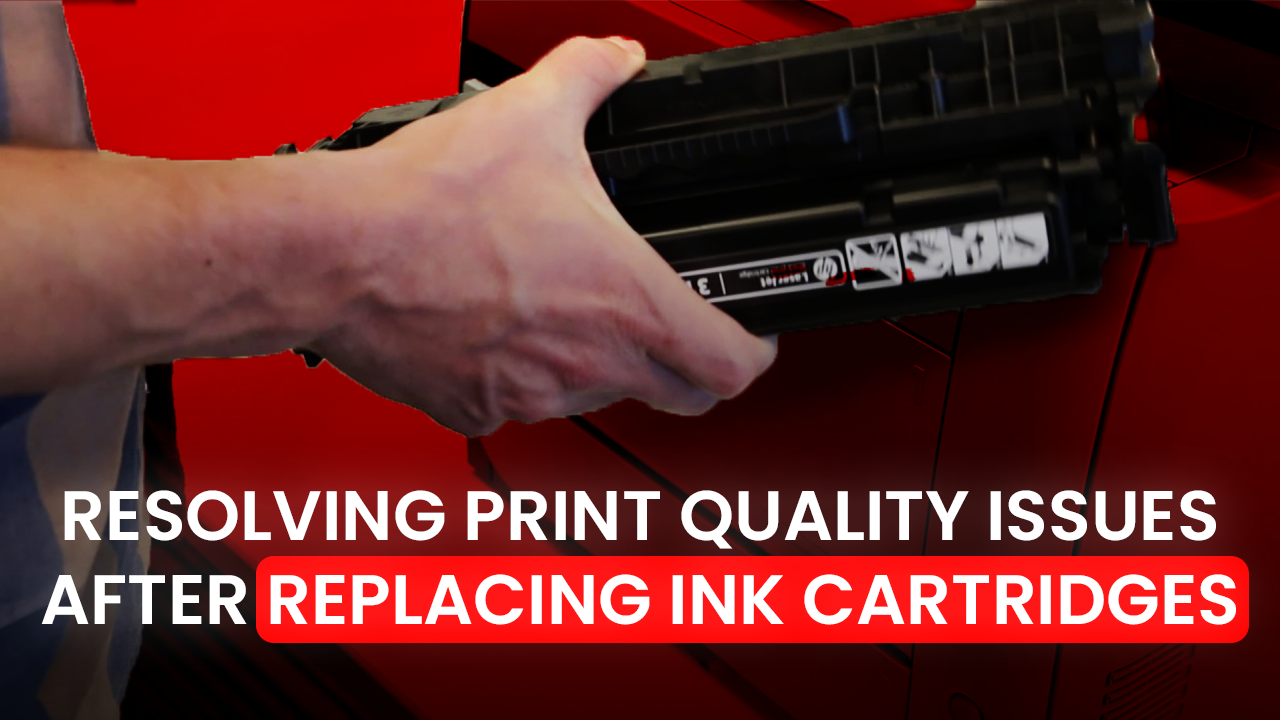
It can be frustrating to see smudged text, faded colors, or streaky prints when you’ve just installed new ink. Print quality issues after replacing ink cartridges are very common and it happens mostly because of incorrect printer and paper settings. In this blog, we will guide you through changing the printer settings to fix print quality problems.
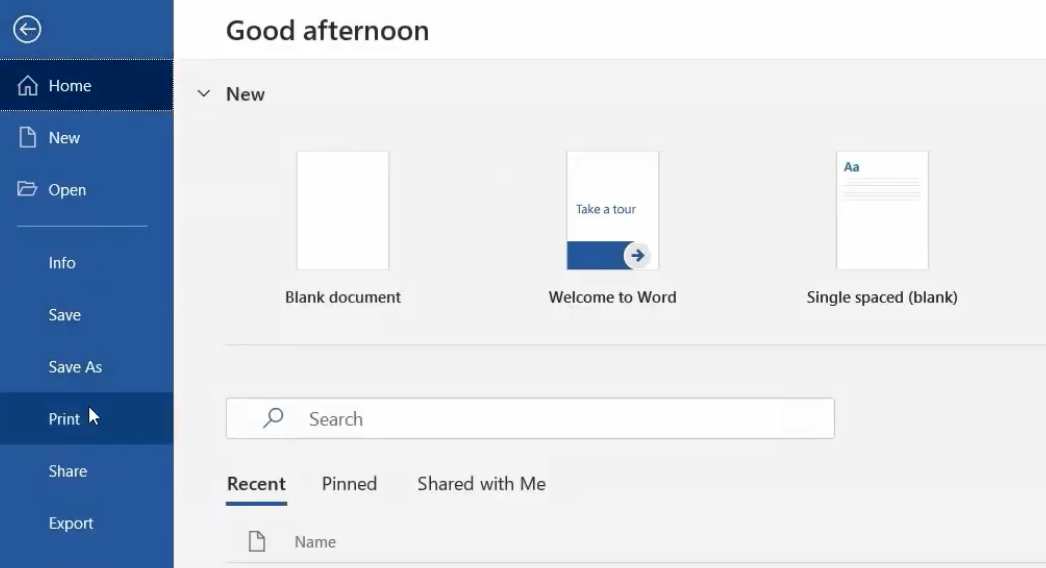
Step 1– To fix print quality problems on your printer, you must change the settings of your printer. First, open any Word document and go to the print option.
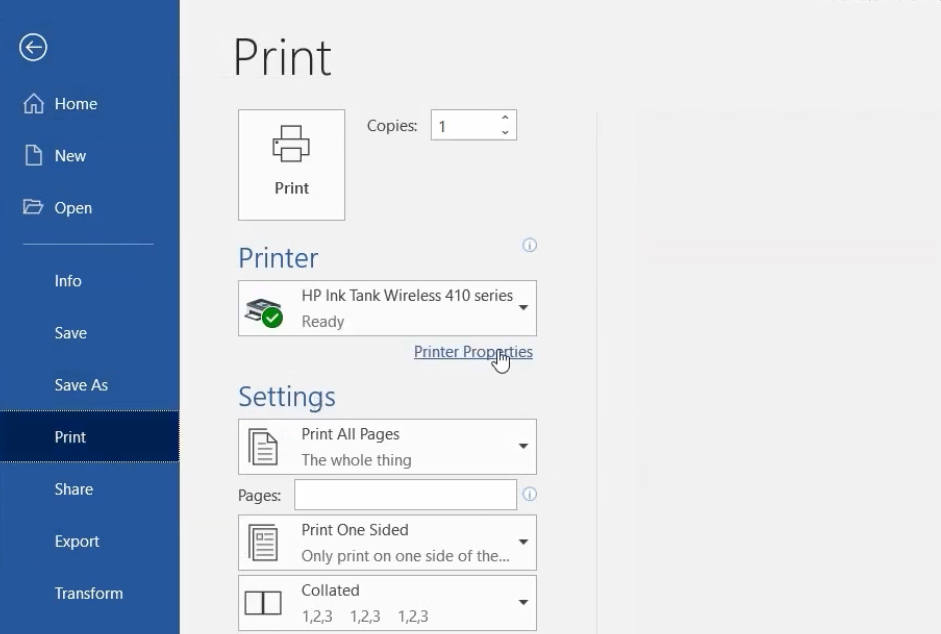
Step 2- You will see a list of printers that are installed on your computer. Go to the printer and click on printer properties as shown in the image below.
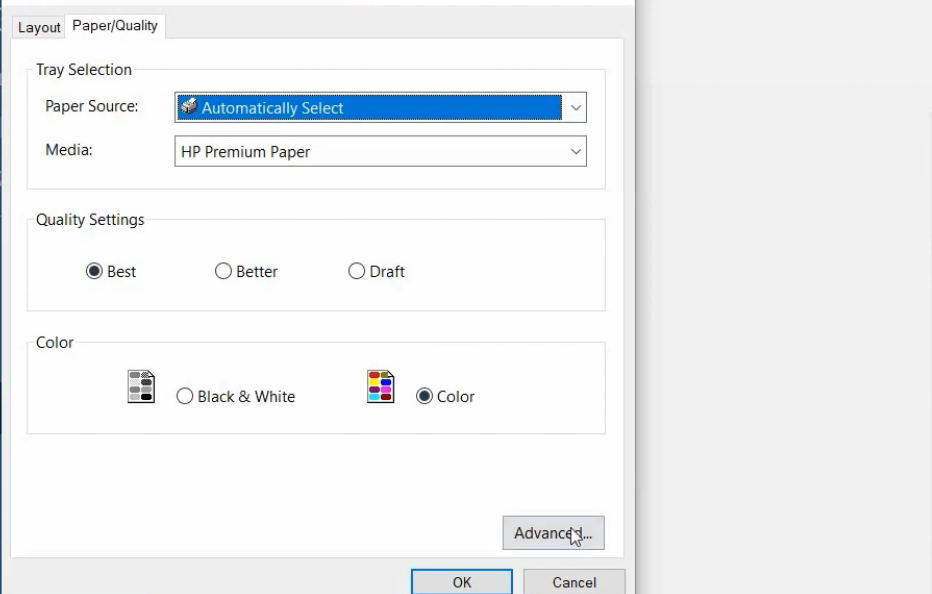
Step 3– To fix printer ink cartridge issues, click on the paper source and select the paper type you are using. Use the exact paper type every time you are using a different paper type.

Step 4– If you have installed new ink cartridges and print quality is terrible, you should change the quality setting to “Best”.

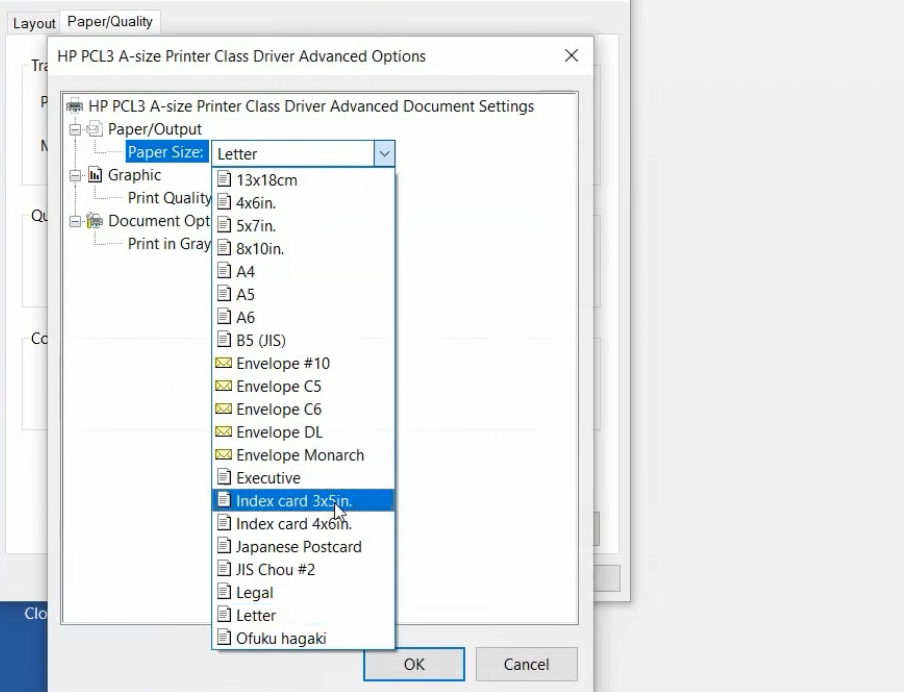
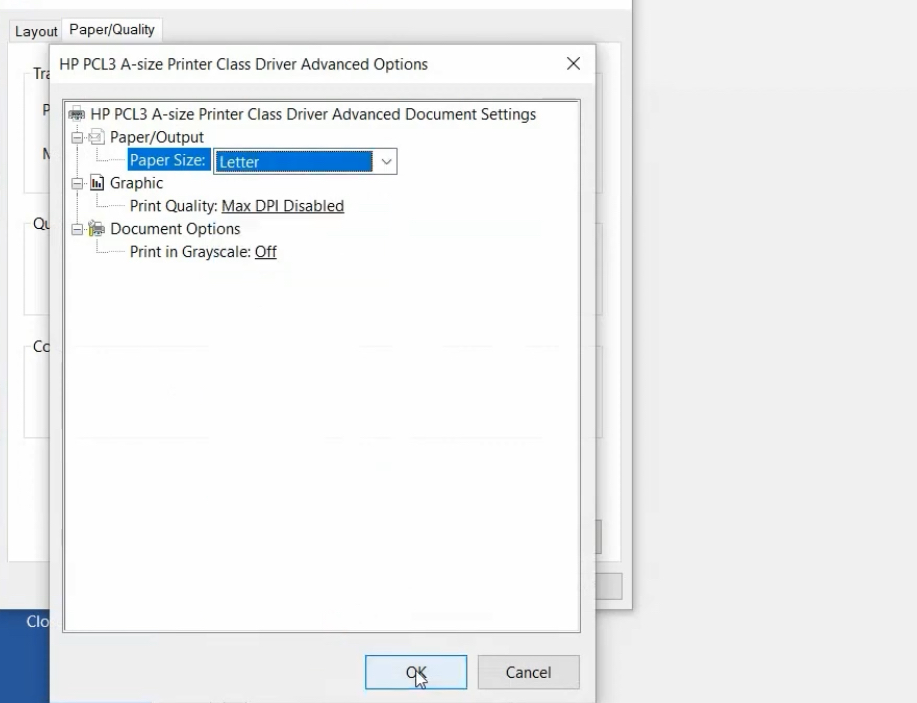
Step 5– Print quality issues after replacing ink cartridges need to be fixed to the depth. For that go to the advanced settings.
Step 6– Use the paper size that you are using correctly.
Step 7– Click on the OK button to save the settings. After they are saved, you will need to restart your computer and the printer to fix printer Ink cartridge issues.
By checking the settings on your printer, you can fix print quality issues after replacing ink cartridges. first, you need to change the paper type, then change the print quality to the best settings, and then change the paper size type. If you have followed each and every step as done in this blog, you will be able to fix printer ink cartridge issues. If the problem is not getting fixed, you can get it fixed by a certified technician. to get help from a printer expert, call Printer Touch at +1-844-460-2008